A cinematic short — a "passenger" walks through a canyon, finds an abandoned train swallowed by a decade of growth, and picks up something that briefly opens the world backward. Made in Maya and Unreal Engine 5 with custom post-process shaders, Lumen global illumination, and real-time ray tracing.
Passenger crosses a canyon — sandstone walls scorched by a sun that has done this ten million times before, indifferent to whoever passes beneath it. At the canyon's edge, he finds a train. It stopped running long enough ago that birch trees have come up through the floor, vines have claimed the grab rails, and wildflowers have covered what was once an aisle. Inside, an apple — still there, still quiet. He picks it up, and the world opens somewhere else.
When it closes again, the canyon is the same. The train is not there.
Built entirely in Unreal Engine 5 with character rigging and animation from Maya. The two environments — a sun-scorched Utah canyon and an overgrown subway car — share a single lighting philosophy: how golden hour wraps around sandstone, and how diffused sky light filters through a canopy of leaves growing inside a metal tube.
The canyon environment uses Megascans photogrammetry assets — high-resolution rock formations, cliff faces, and desert ground scatter — assembled into a believable canyon valley. The goal was for the geometry to feel like it had always been there: no obvious tiling, no floating rocks, a sense of geological weight.
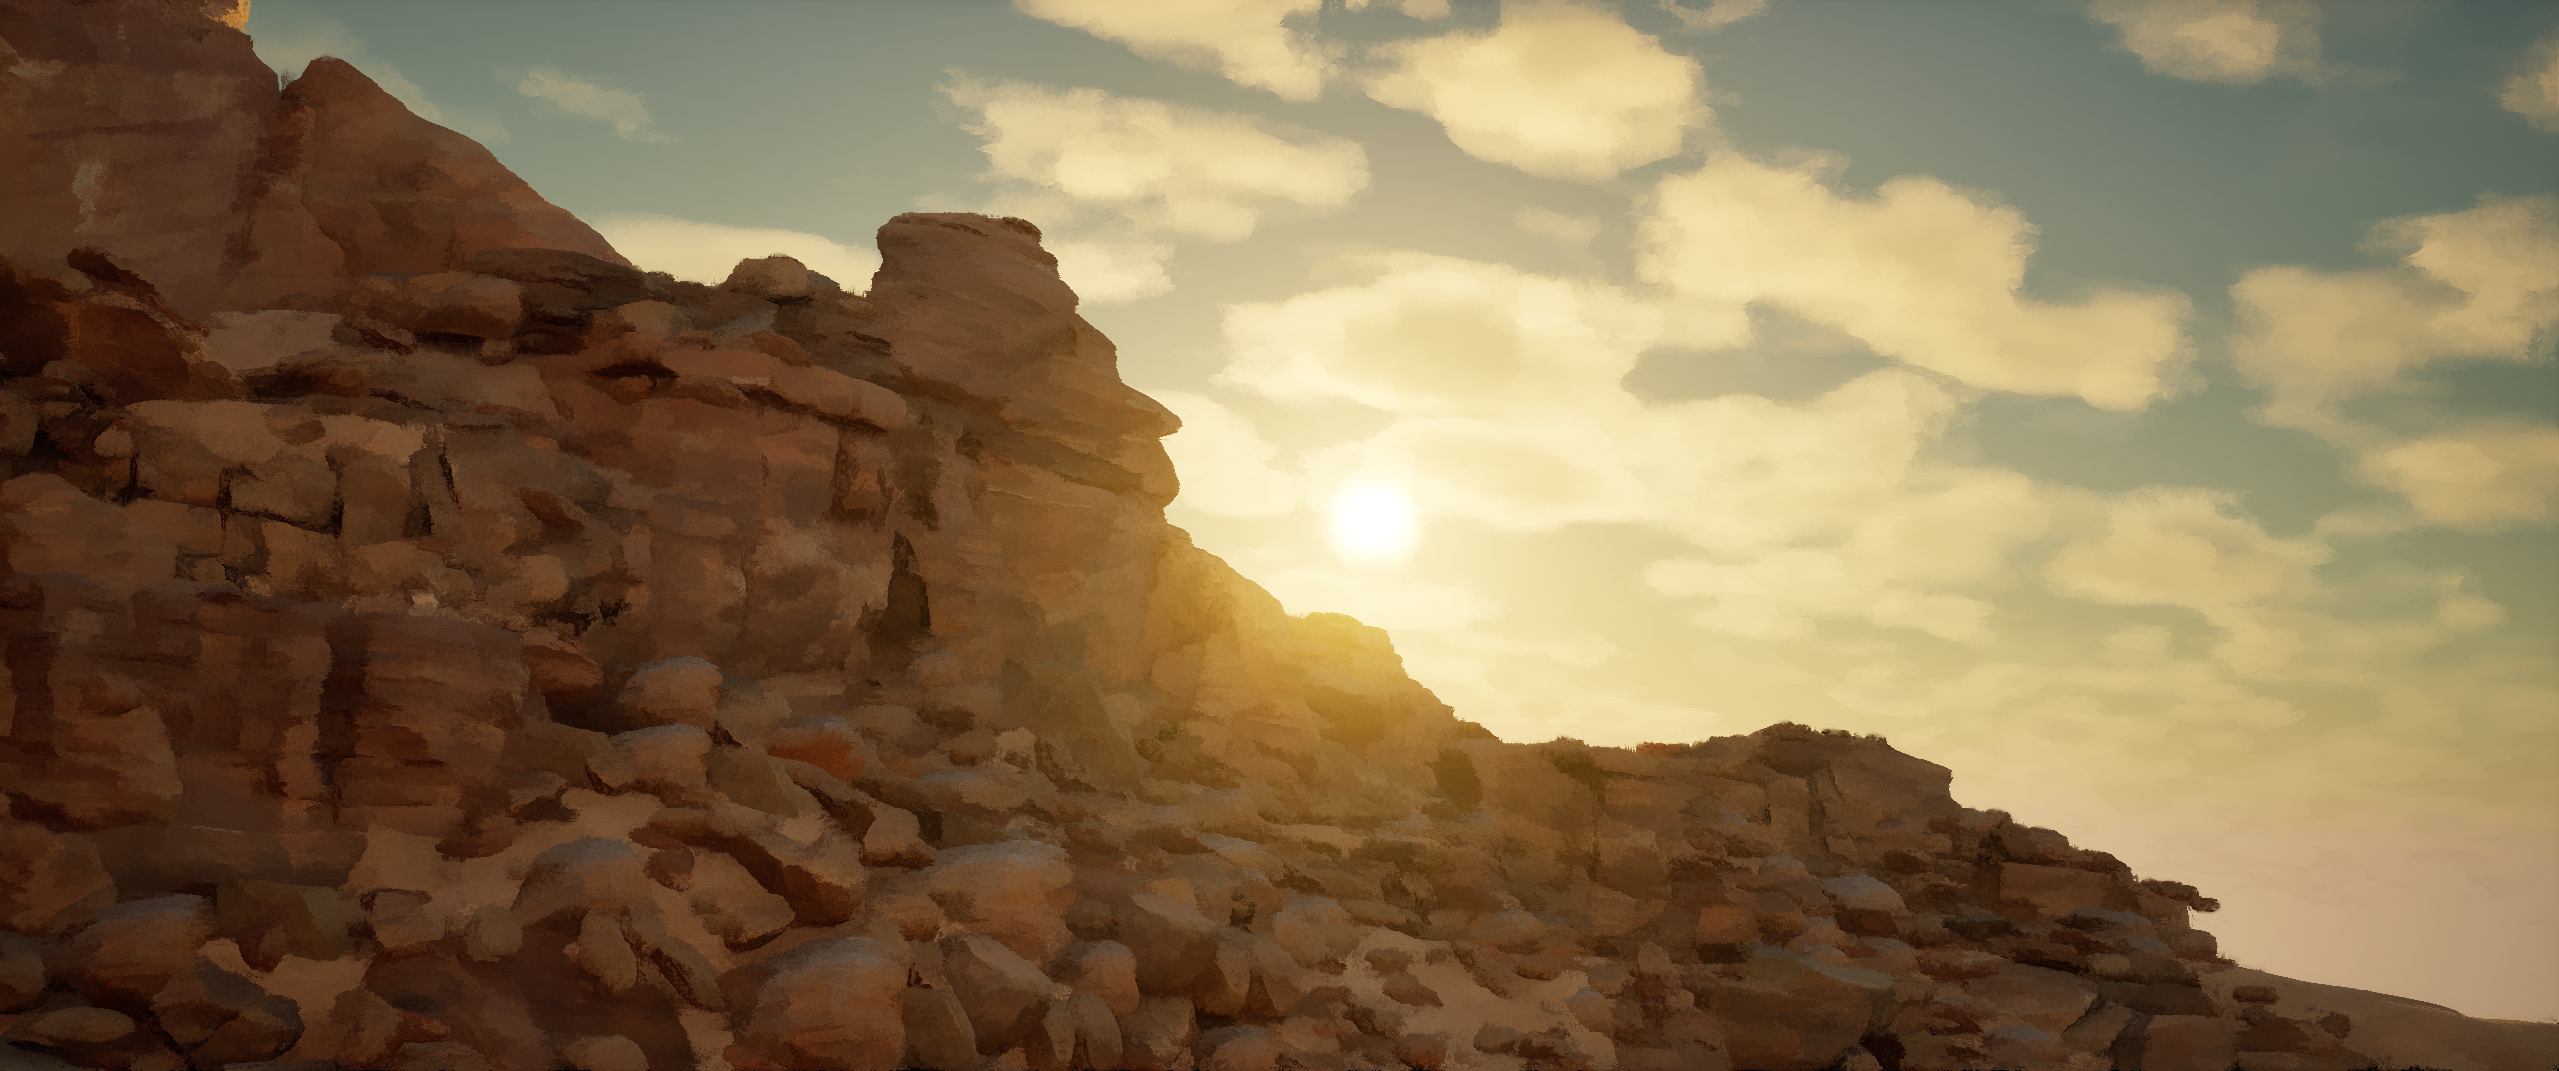
Lumen global illumination handles the bounce light that wraps into the canyon walls from the sun angle. As the virtual sun nears the horizon during golden hour, Lumen re-solves the GI in real time, pulling the canyon into deep amber shadow on one side while the lit face burns orange. No baking, no lightmaps — the lighting reacts as the camera moves through the environment.
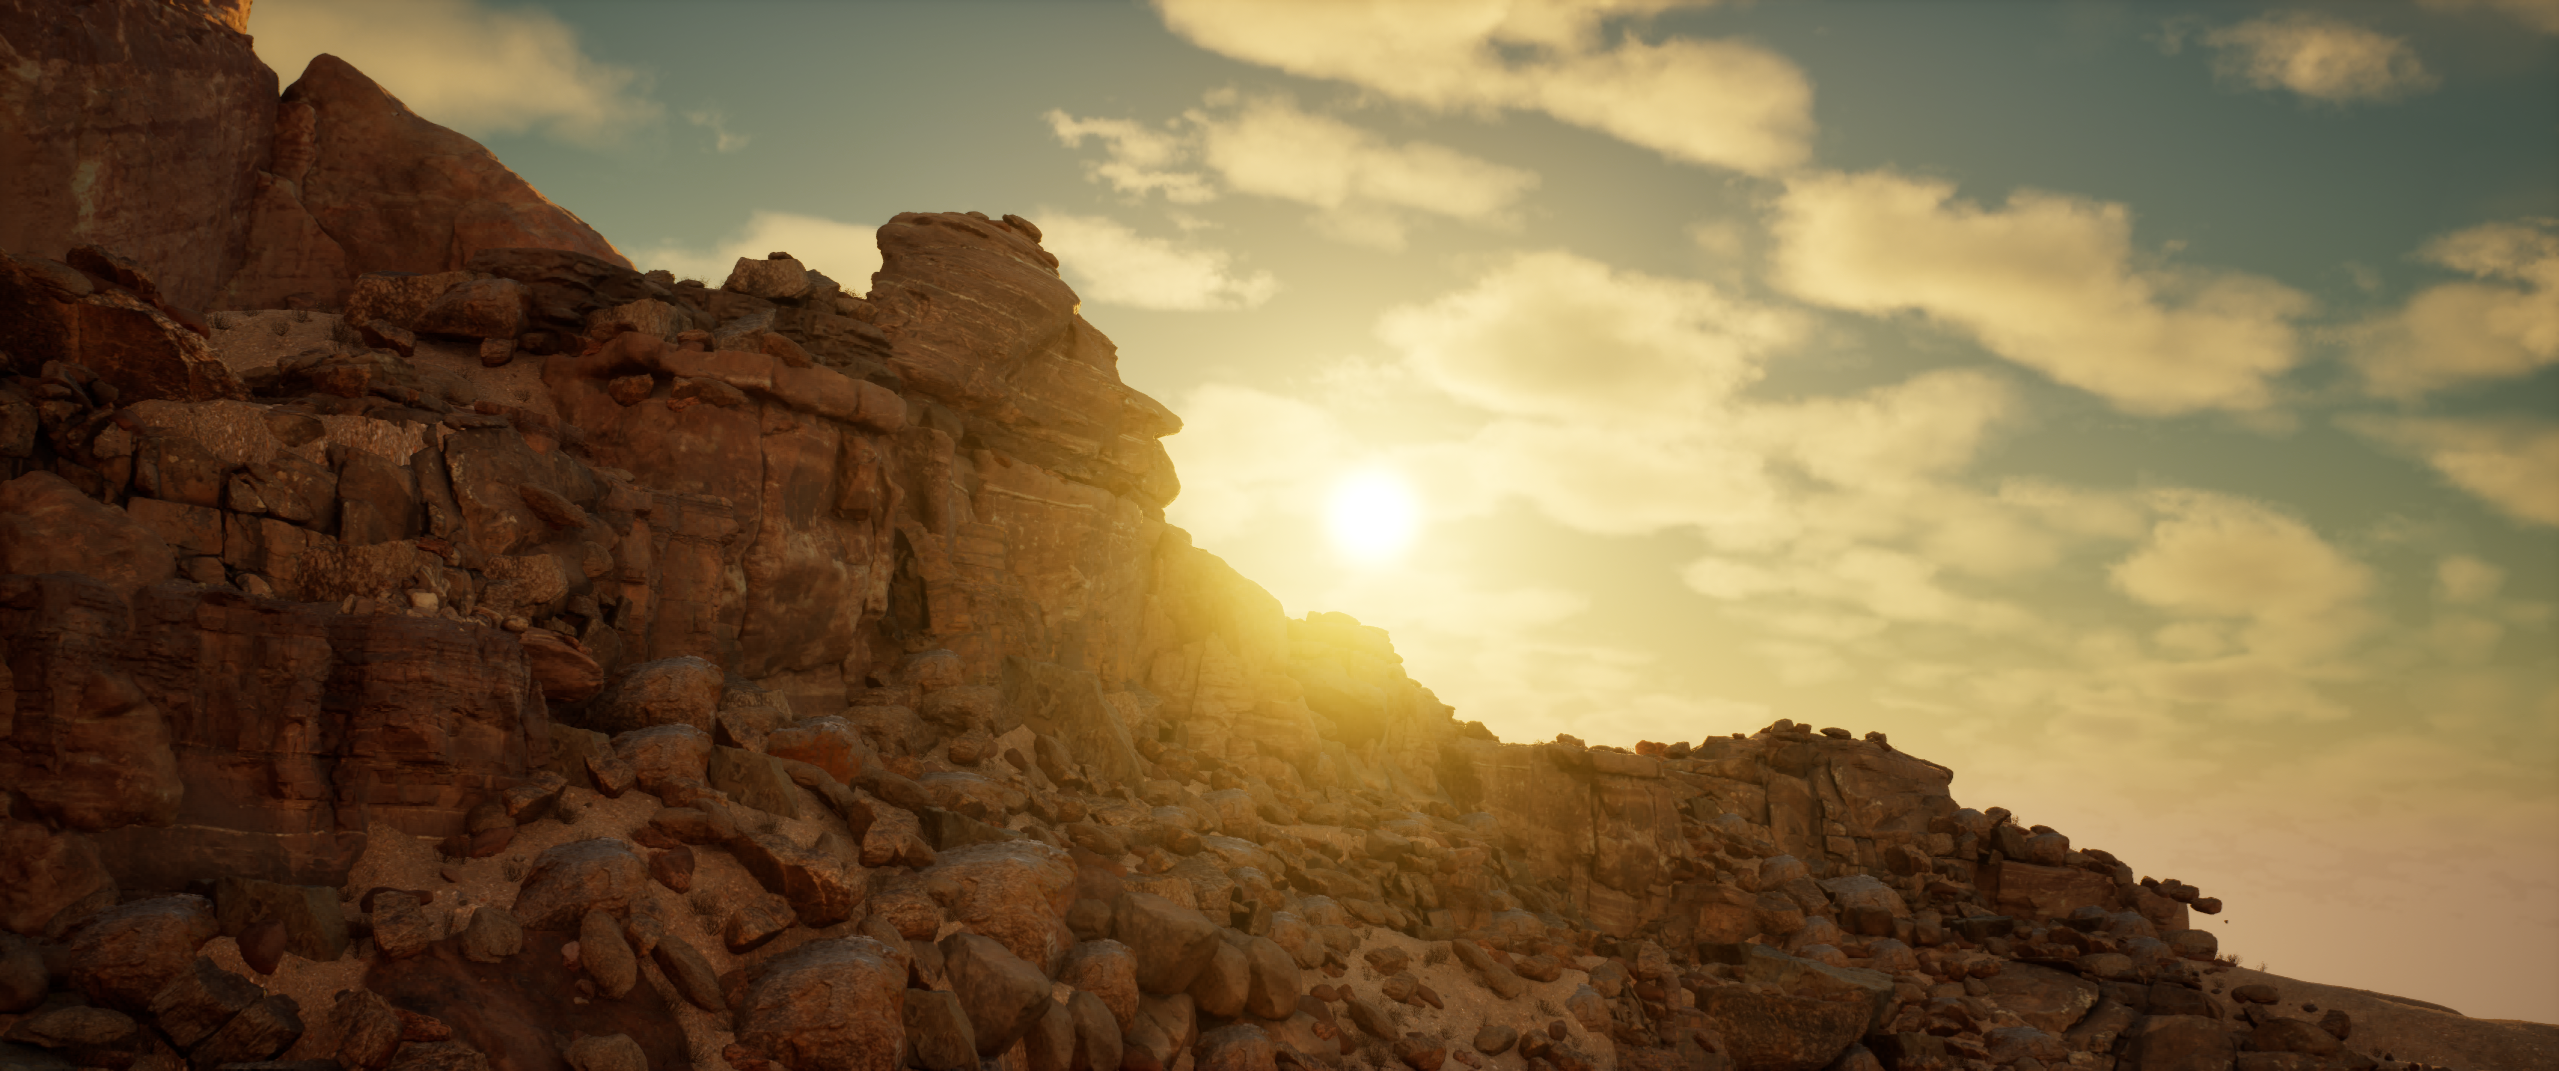
Golden hour — Lumen GI pulling warm light deep into the canyon walls
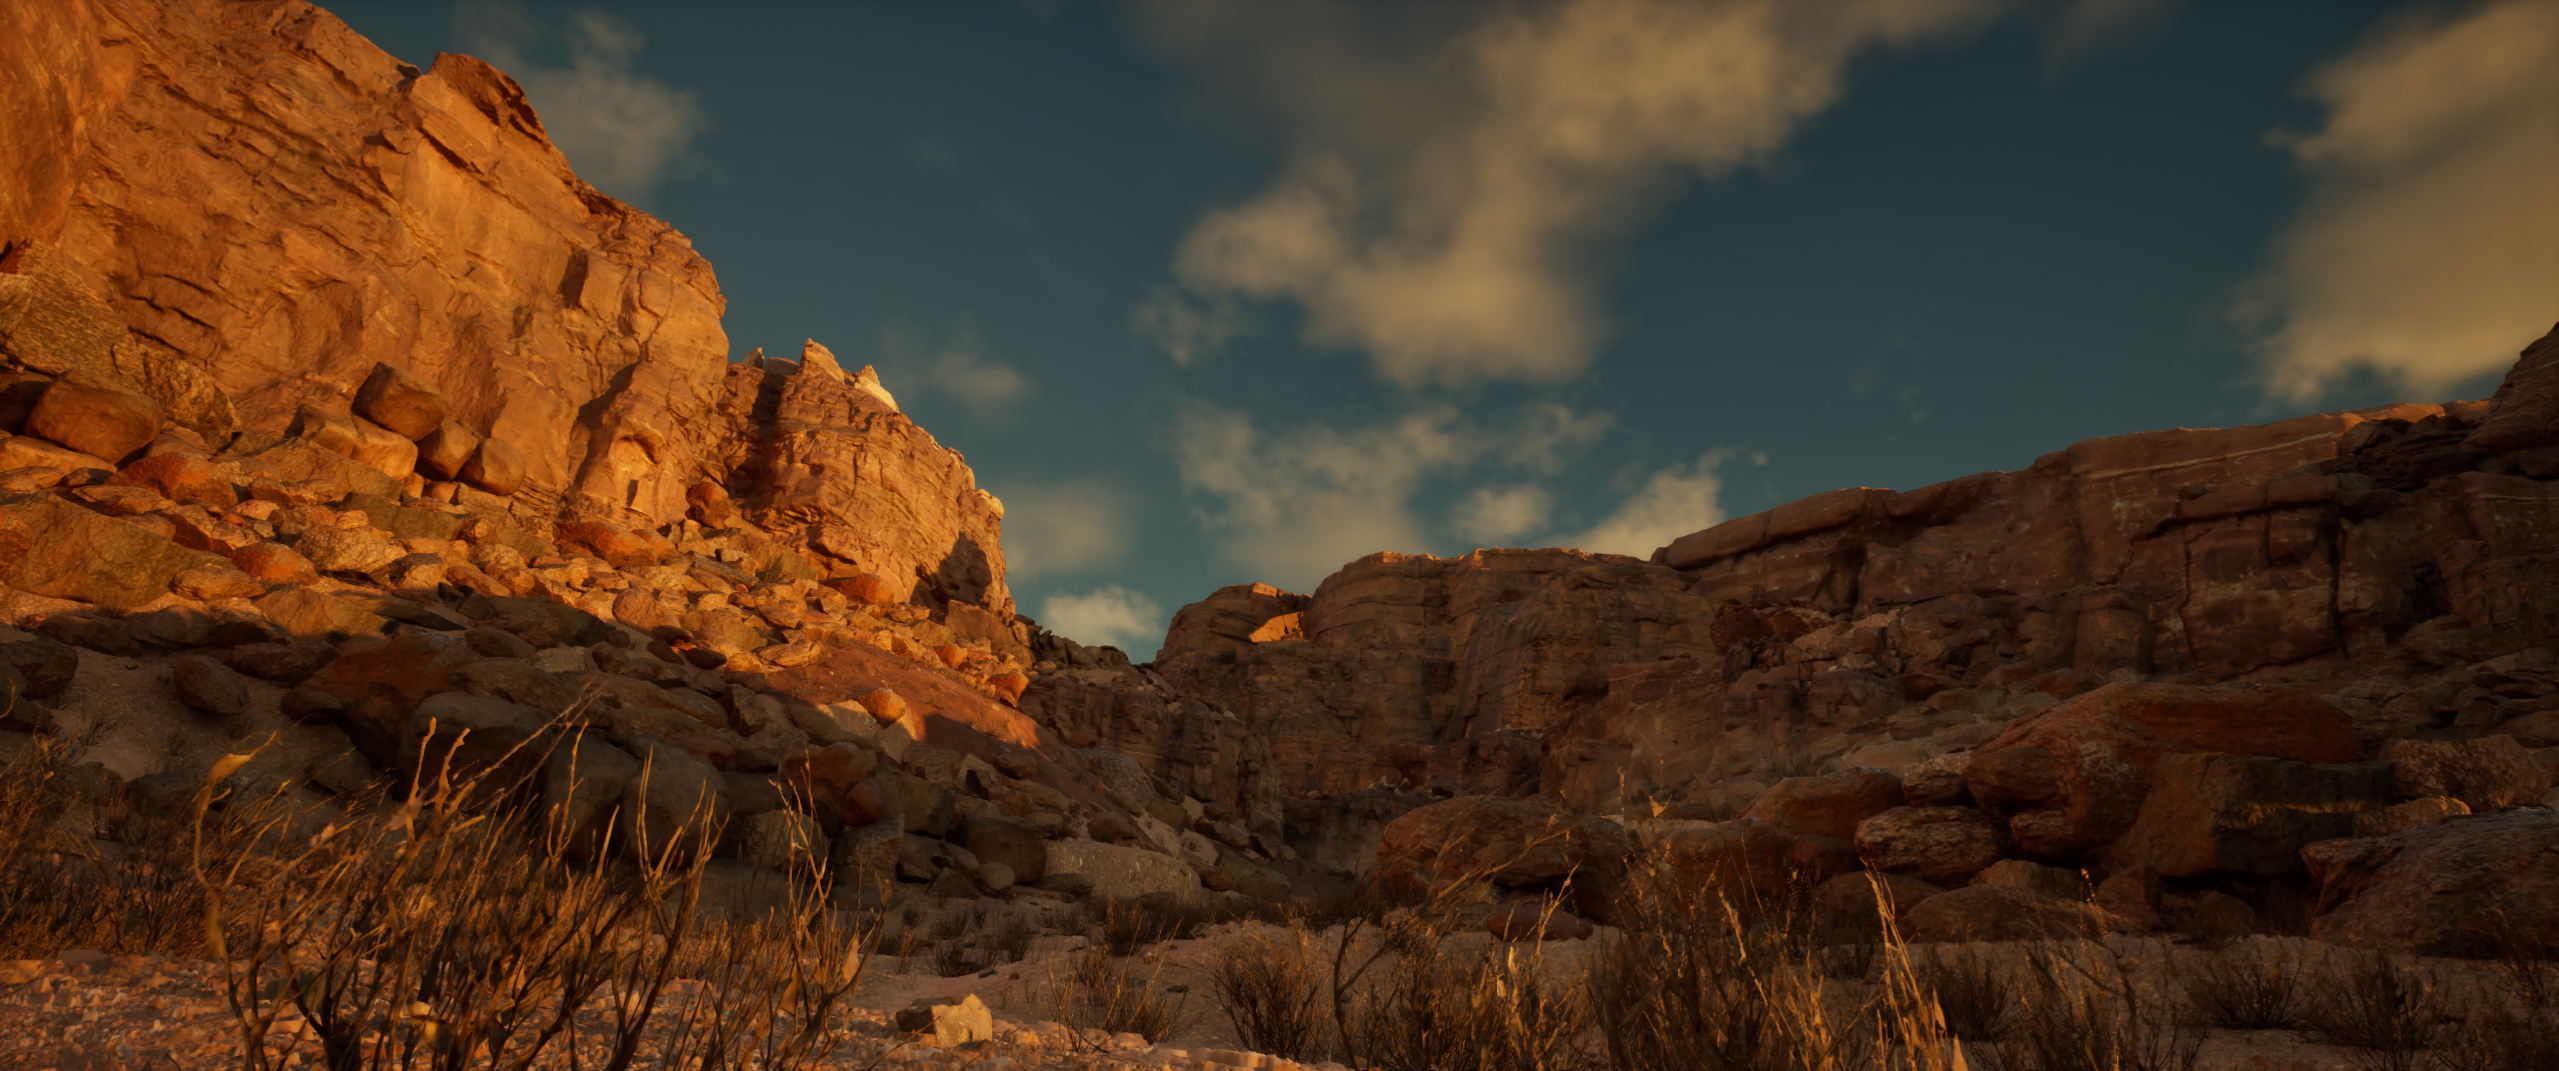
Blue hour — sun below the horizon, cool skylight fills the scene
Before locking the canyon lighting for the final animation, three distinct lighting conditions were explored to find the most cinematic read. Each uses the same geometry, the same camera framing — only the sun angle, sky color, and post-process tone changes.
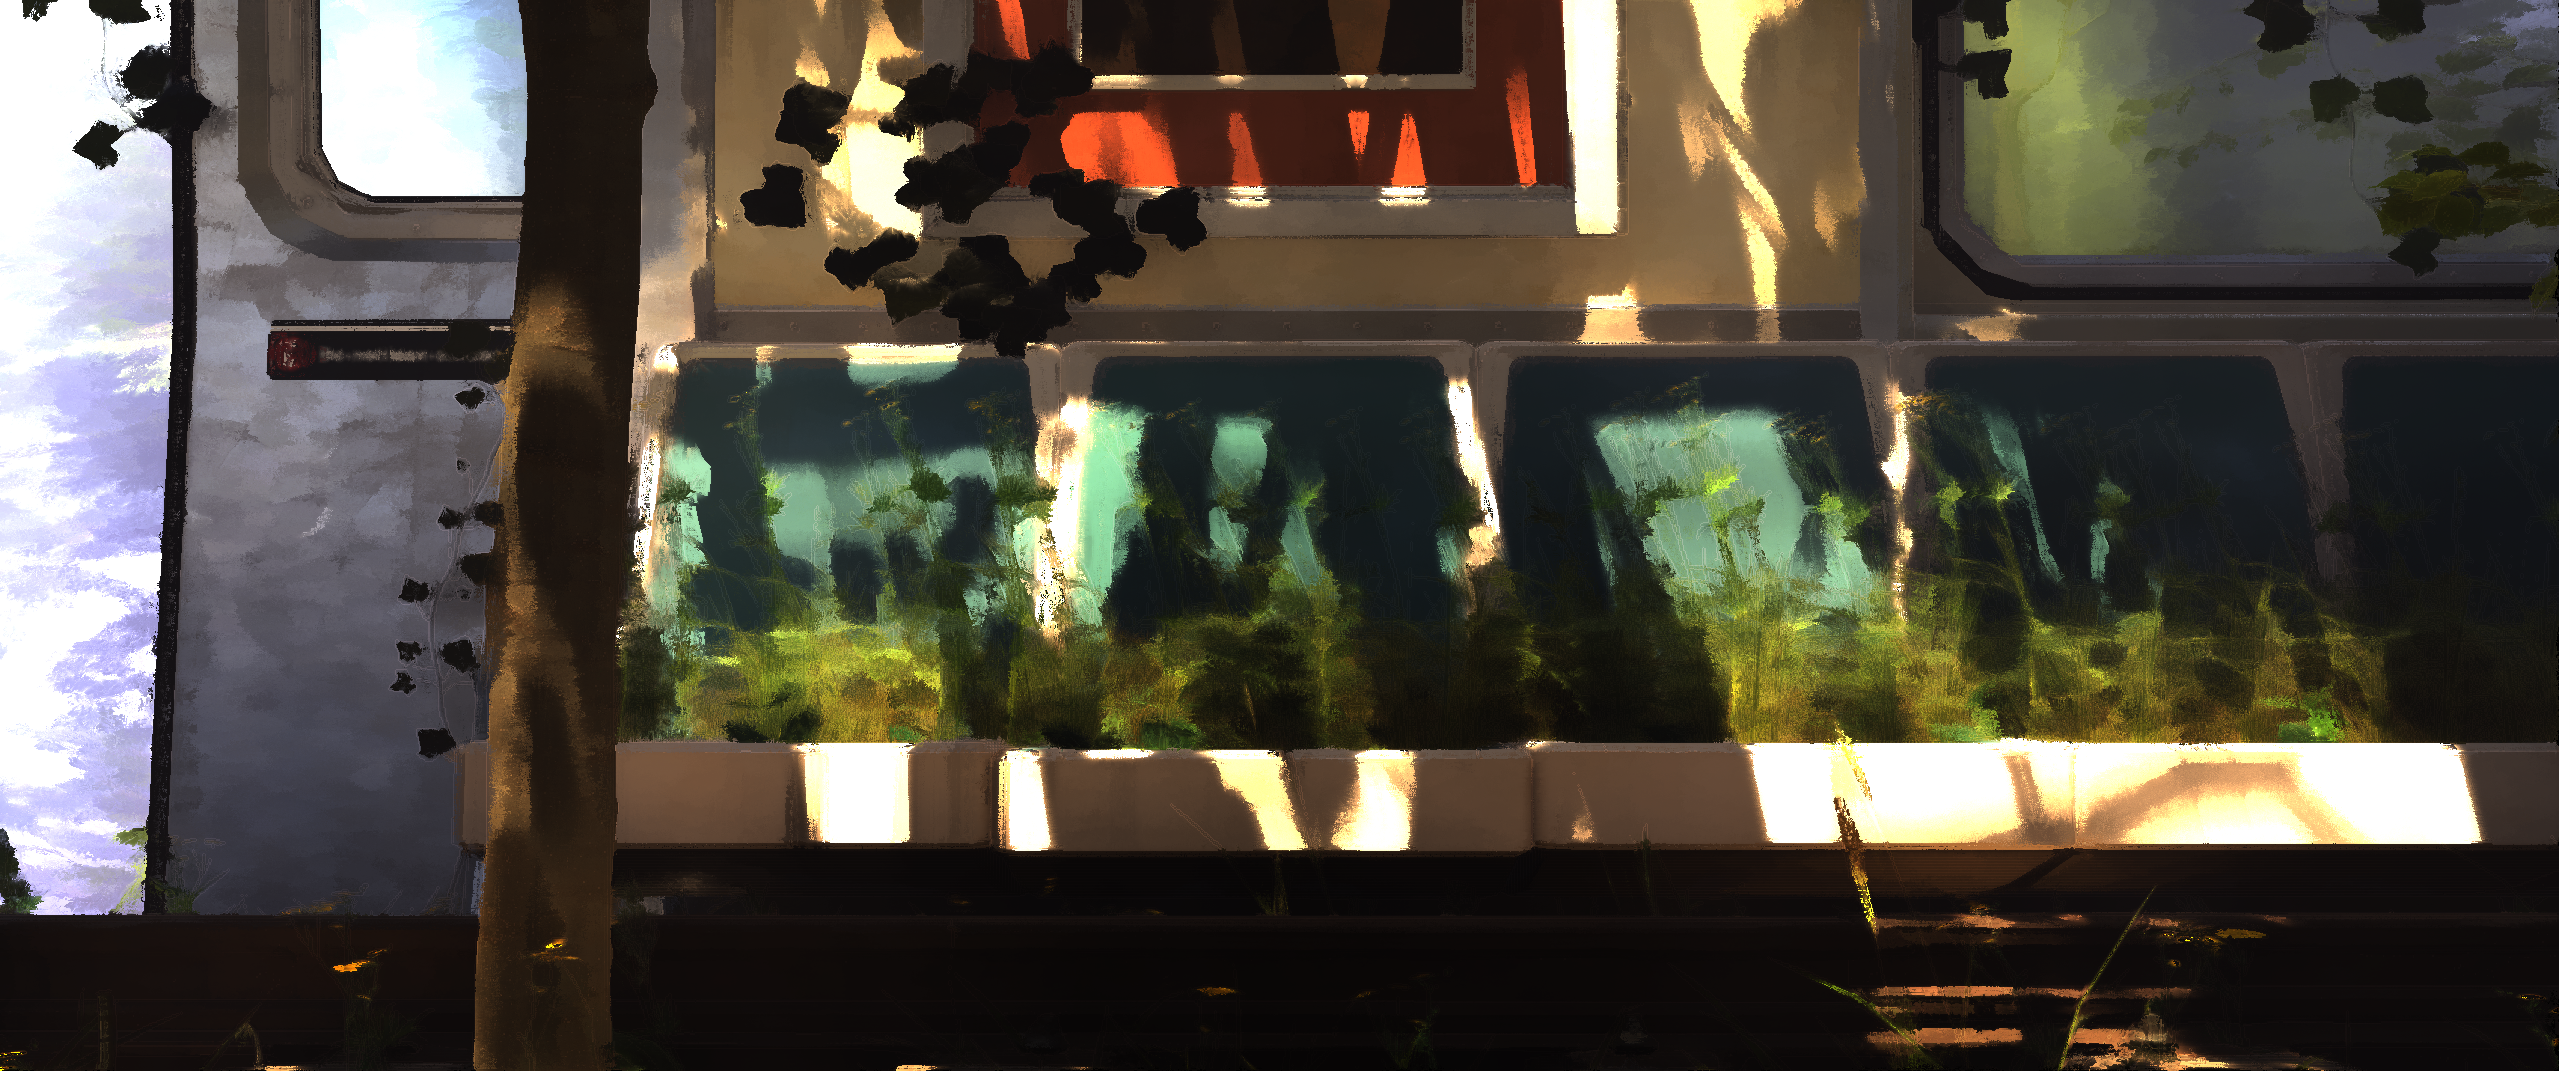
The subway environment is built on a modular NYC-style train kit — individual car shells, door panels, ceiling marquees, overhead grab rails, and seating units assembled into a coherent vehicle. The departure from the standard kit begins here: all signs of function are replaced by signs of abandonment.
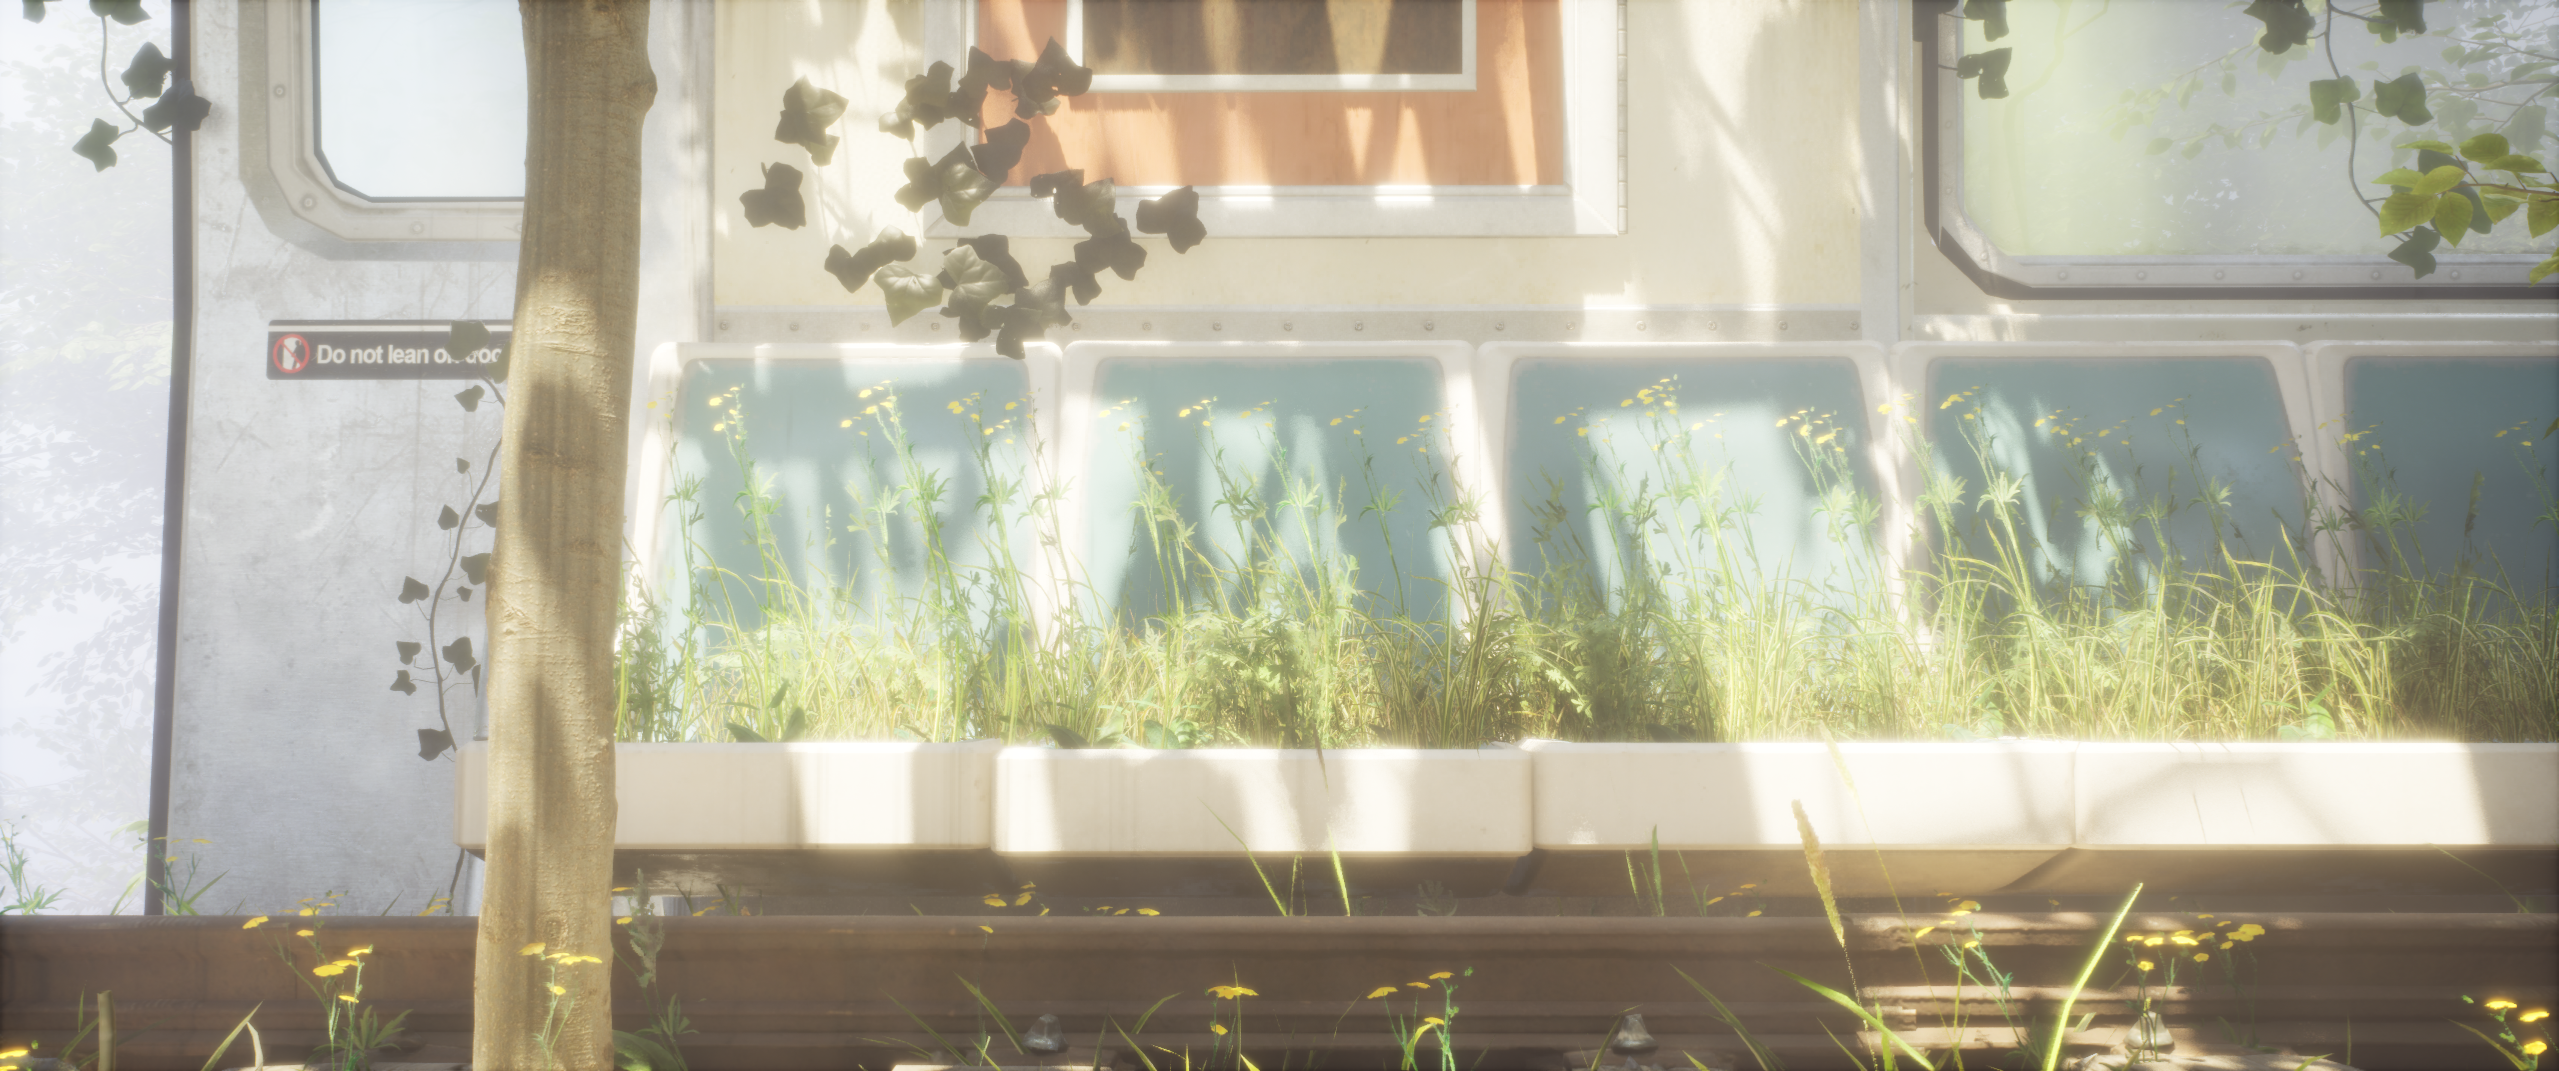
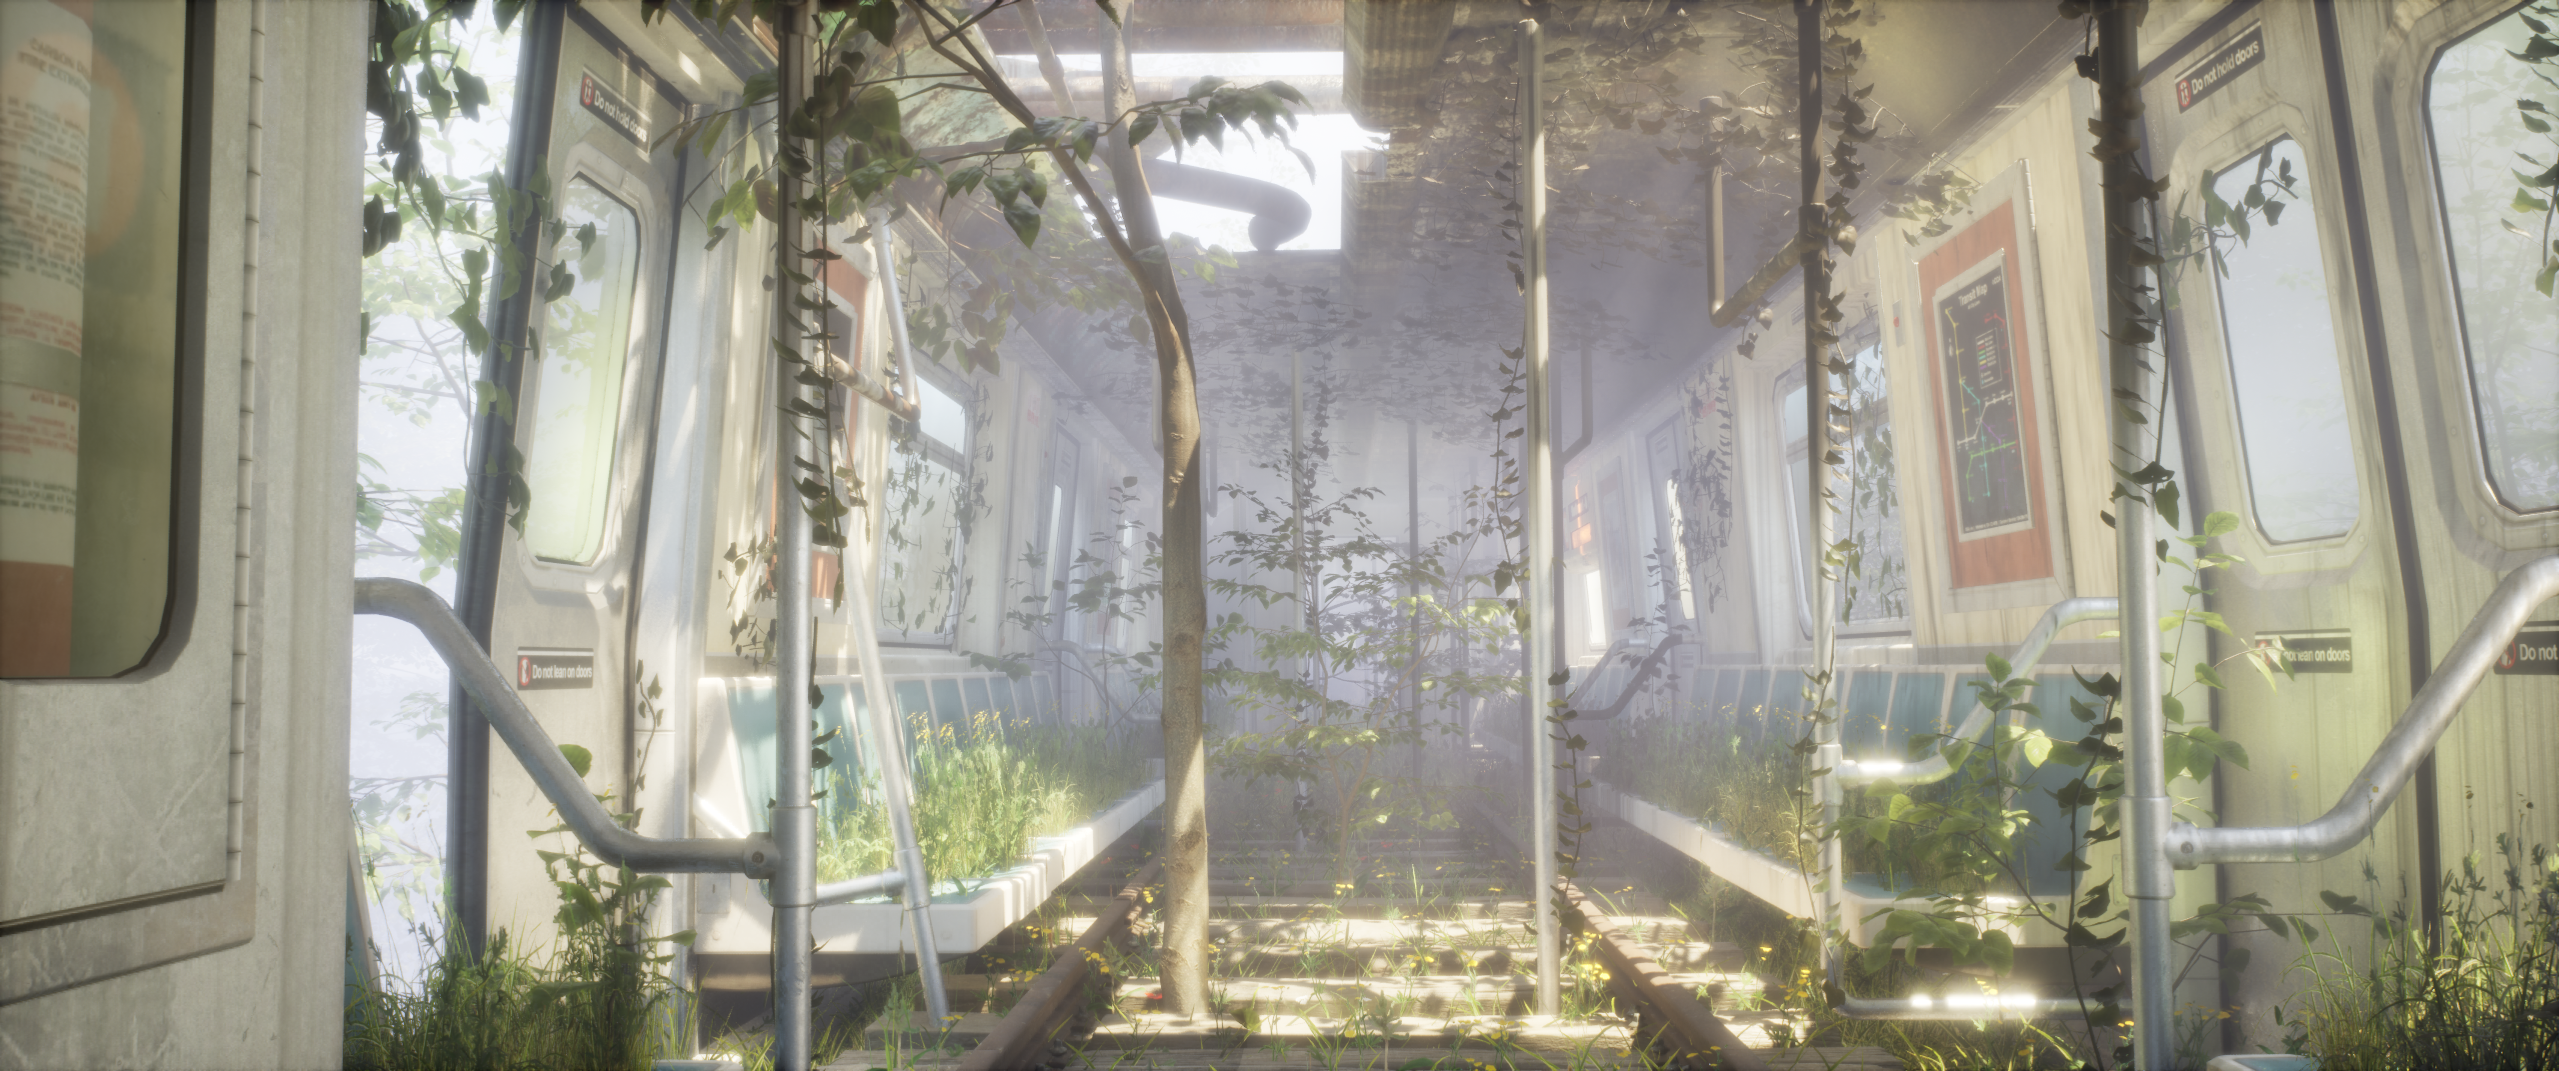
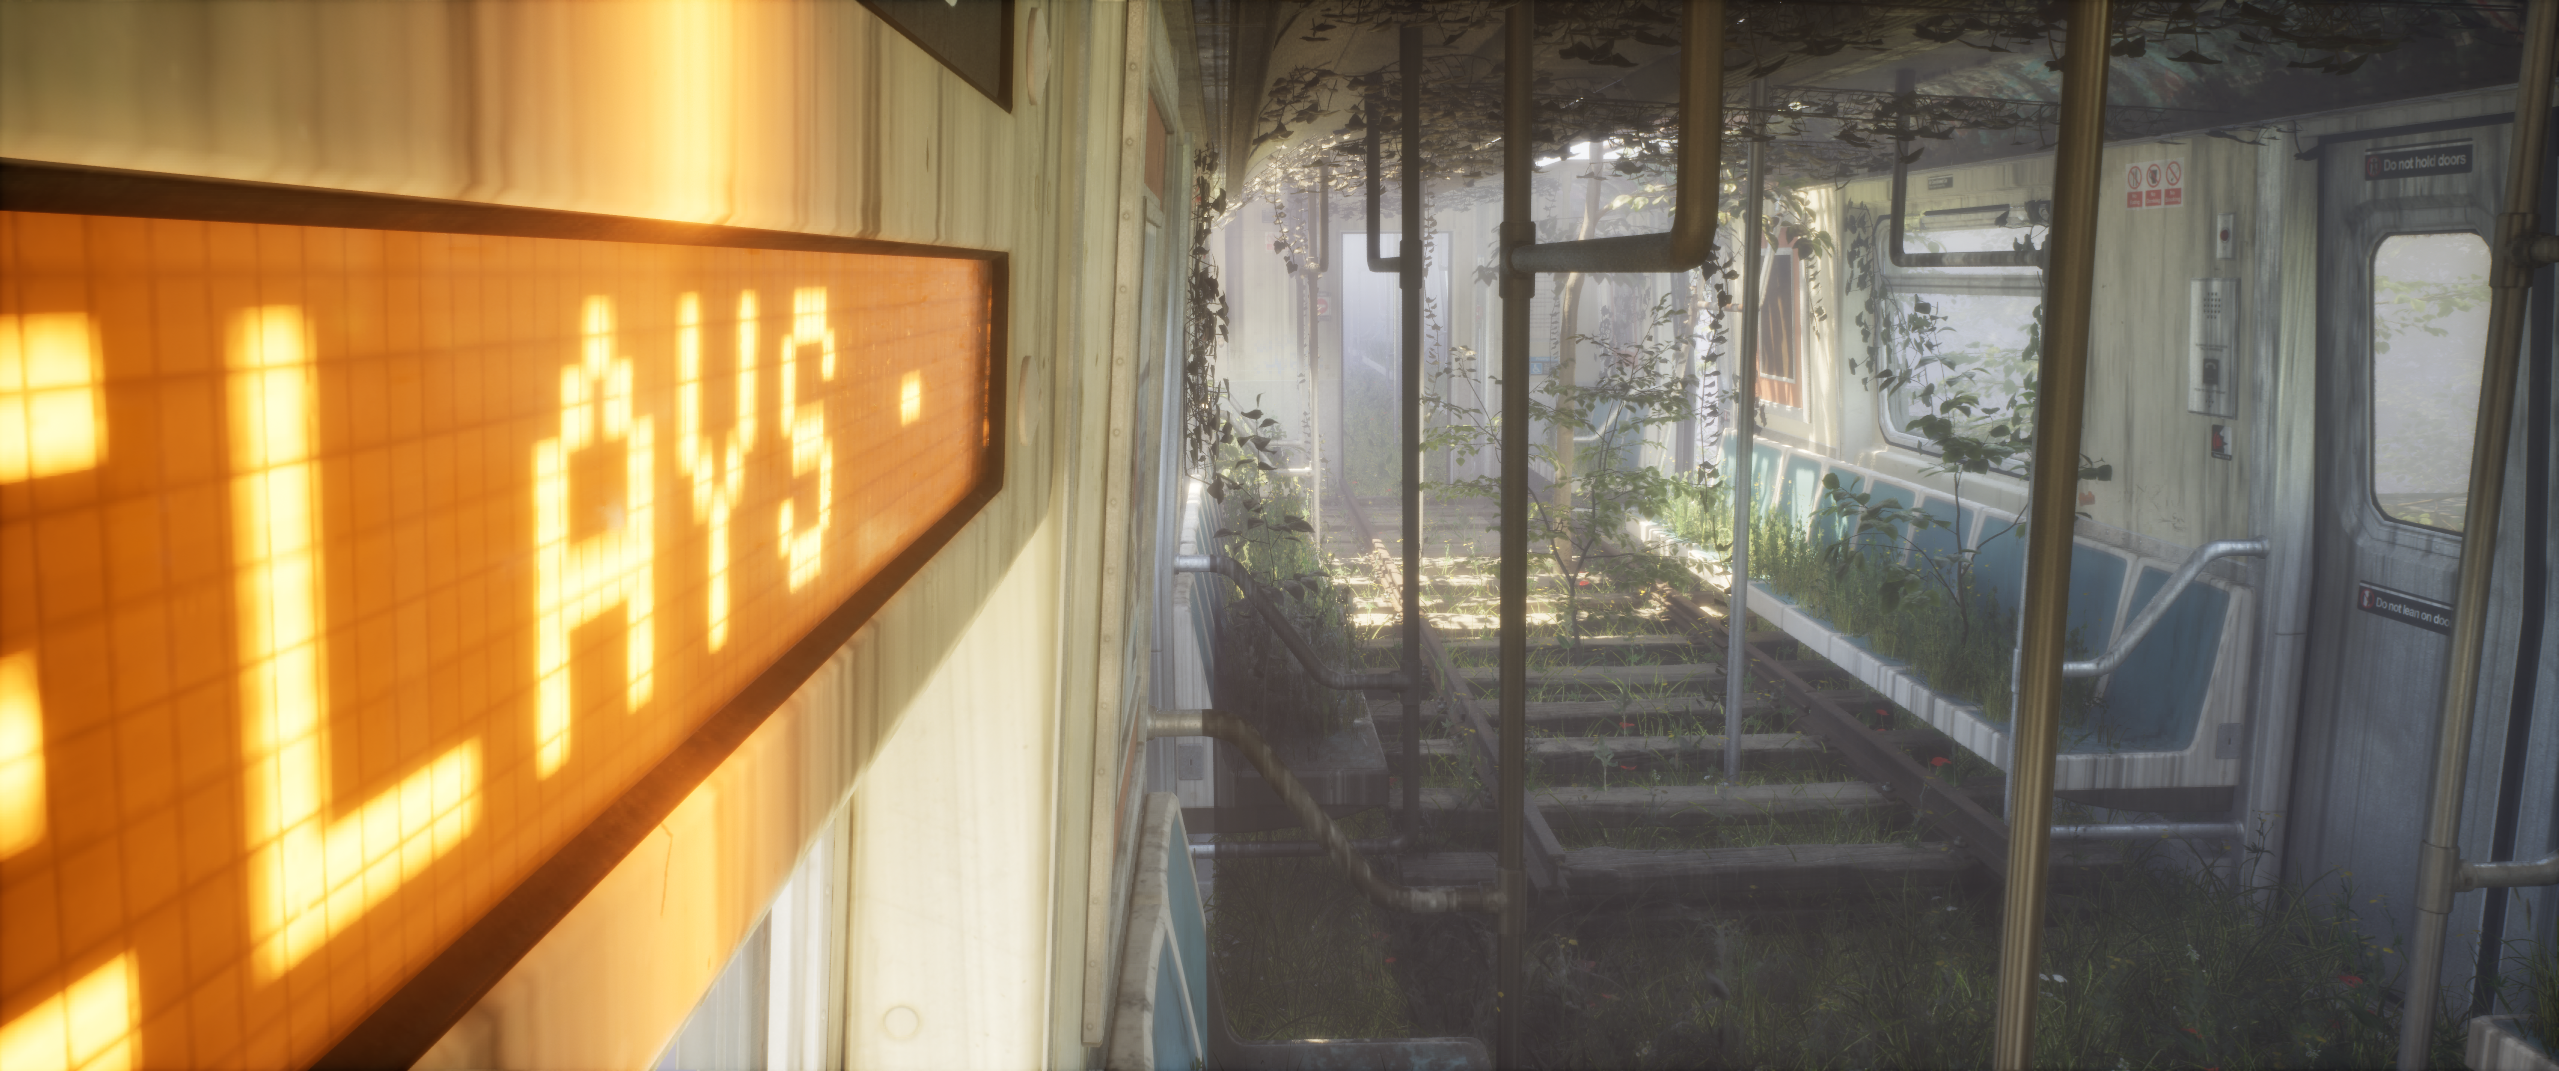
Birch trees grow through the floor panels where the roots have found gaps. European hornbeam foliage fills the gaps between the door frames. Meadow grass and wildflowers cover what used to be the aisle. Vines loop the ceiling grab rails. The LED marquee still works — "DELAYS AHEAD" — but there are no delays because there is no train anymore.
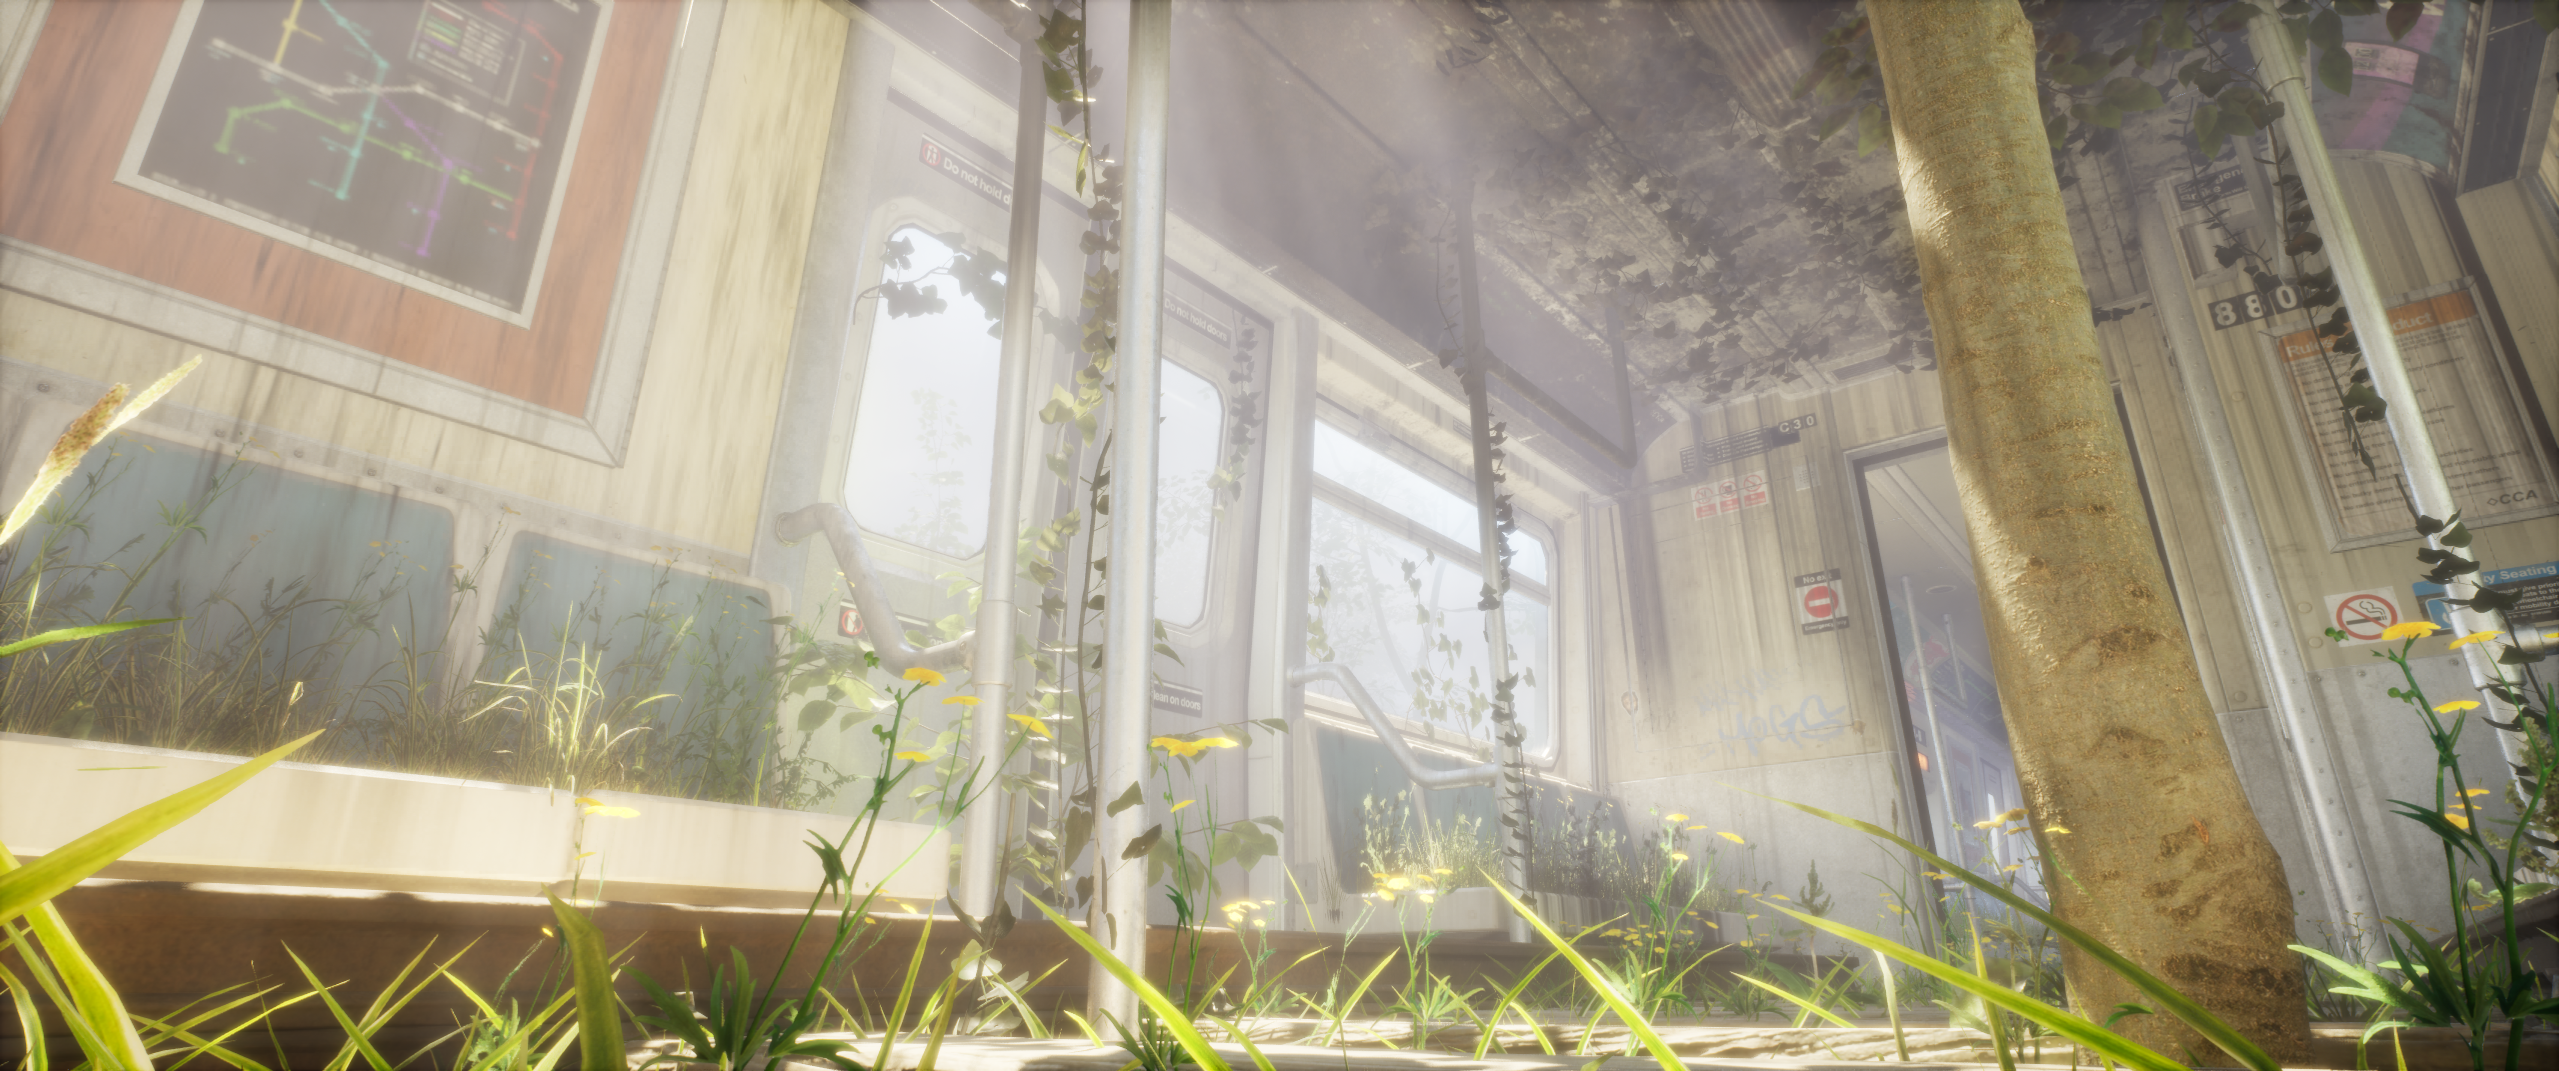
The lighting inside the train comes entirely from the sky through the canopy above. Lumen computes the soft, diffuse fill of overcast-sky light filtering through a tree canopy growing through a broken roof panel. Thin god rays catch the mist particles scattered through the interior volume.
LED marquee still cycles "DELAYS AHEAD" — the train beneath it doesn't move
Exterior — wildflowers and foliage colonising the gap between car and platform
Interior — birch trees through the floor panels, vines looping the grab rails, grass covering the aisle
Low angle — Lumen god rays filtering through the canopy, volumetric mist catching the light
Two post-process materials were written for the project and applied as blendable volumes in Unreal's material system. The primary stylisation pass active in the final film is the Line Shader.
Line_Shader_Inst and Line_Shader_Inst_Two — are applied at different blend weights.Both materials read GBuffer channels — BaseColor, WorldNormal, SceneDepth, and PostProcessInput0 — through Unreal's SceneTexture nodes, so the stylisation responds to actual surface geometry rather than just the final composited pixel.
Canyon 1 — off (photoreal Lumen GI)
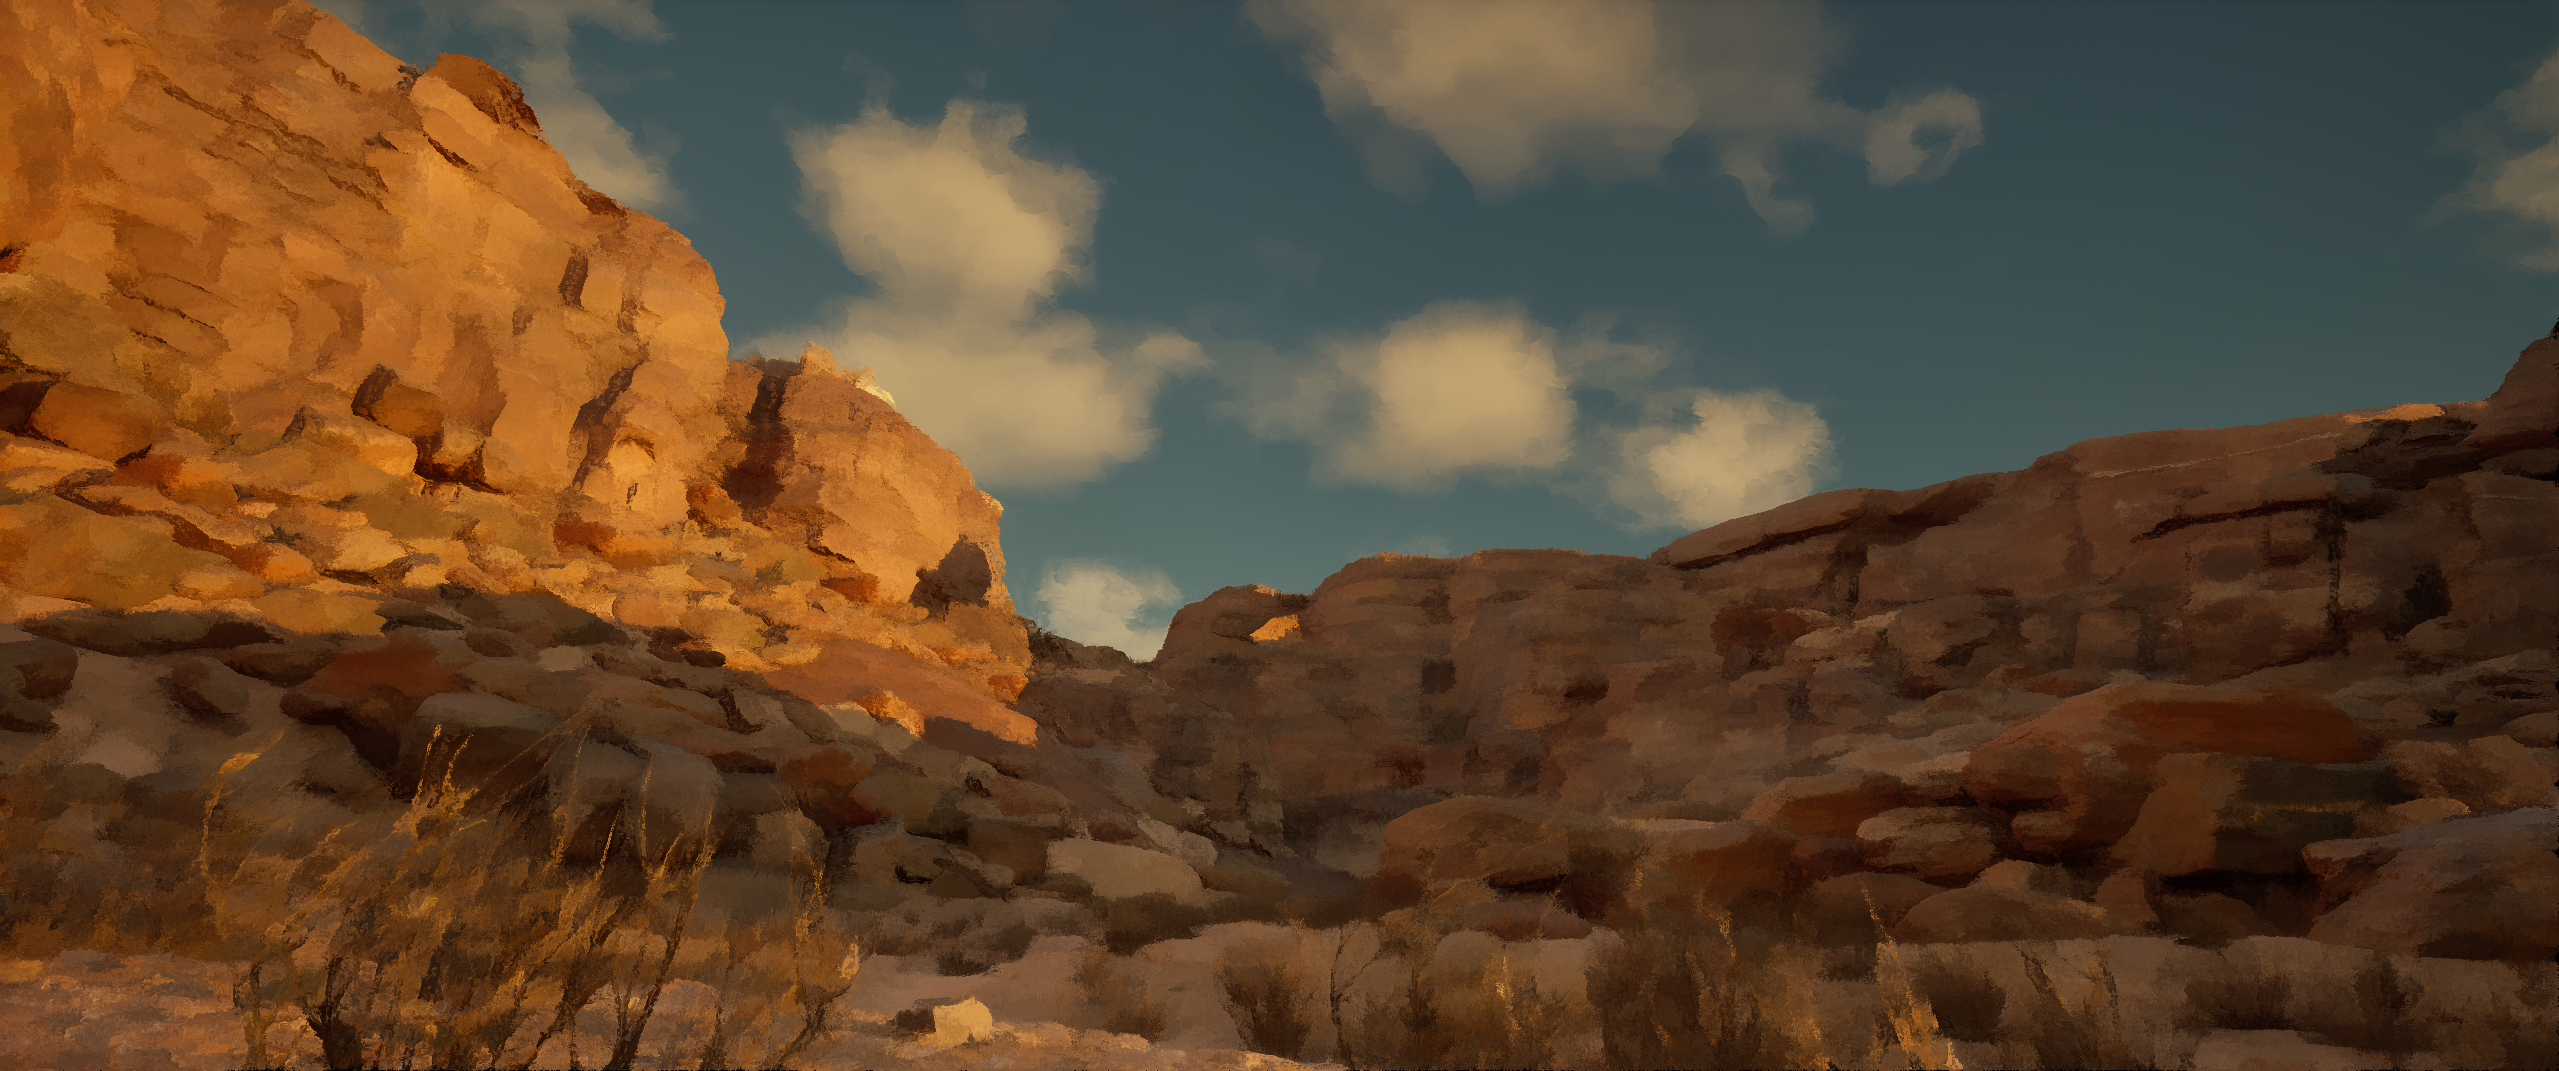
Canyon 2 — On (anisotropic Kuwahara filter)
Canyon 2 — off (blue hour variant)
Canyon 1 — On (anisotropic Kuwahara filter)
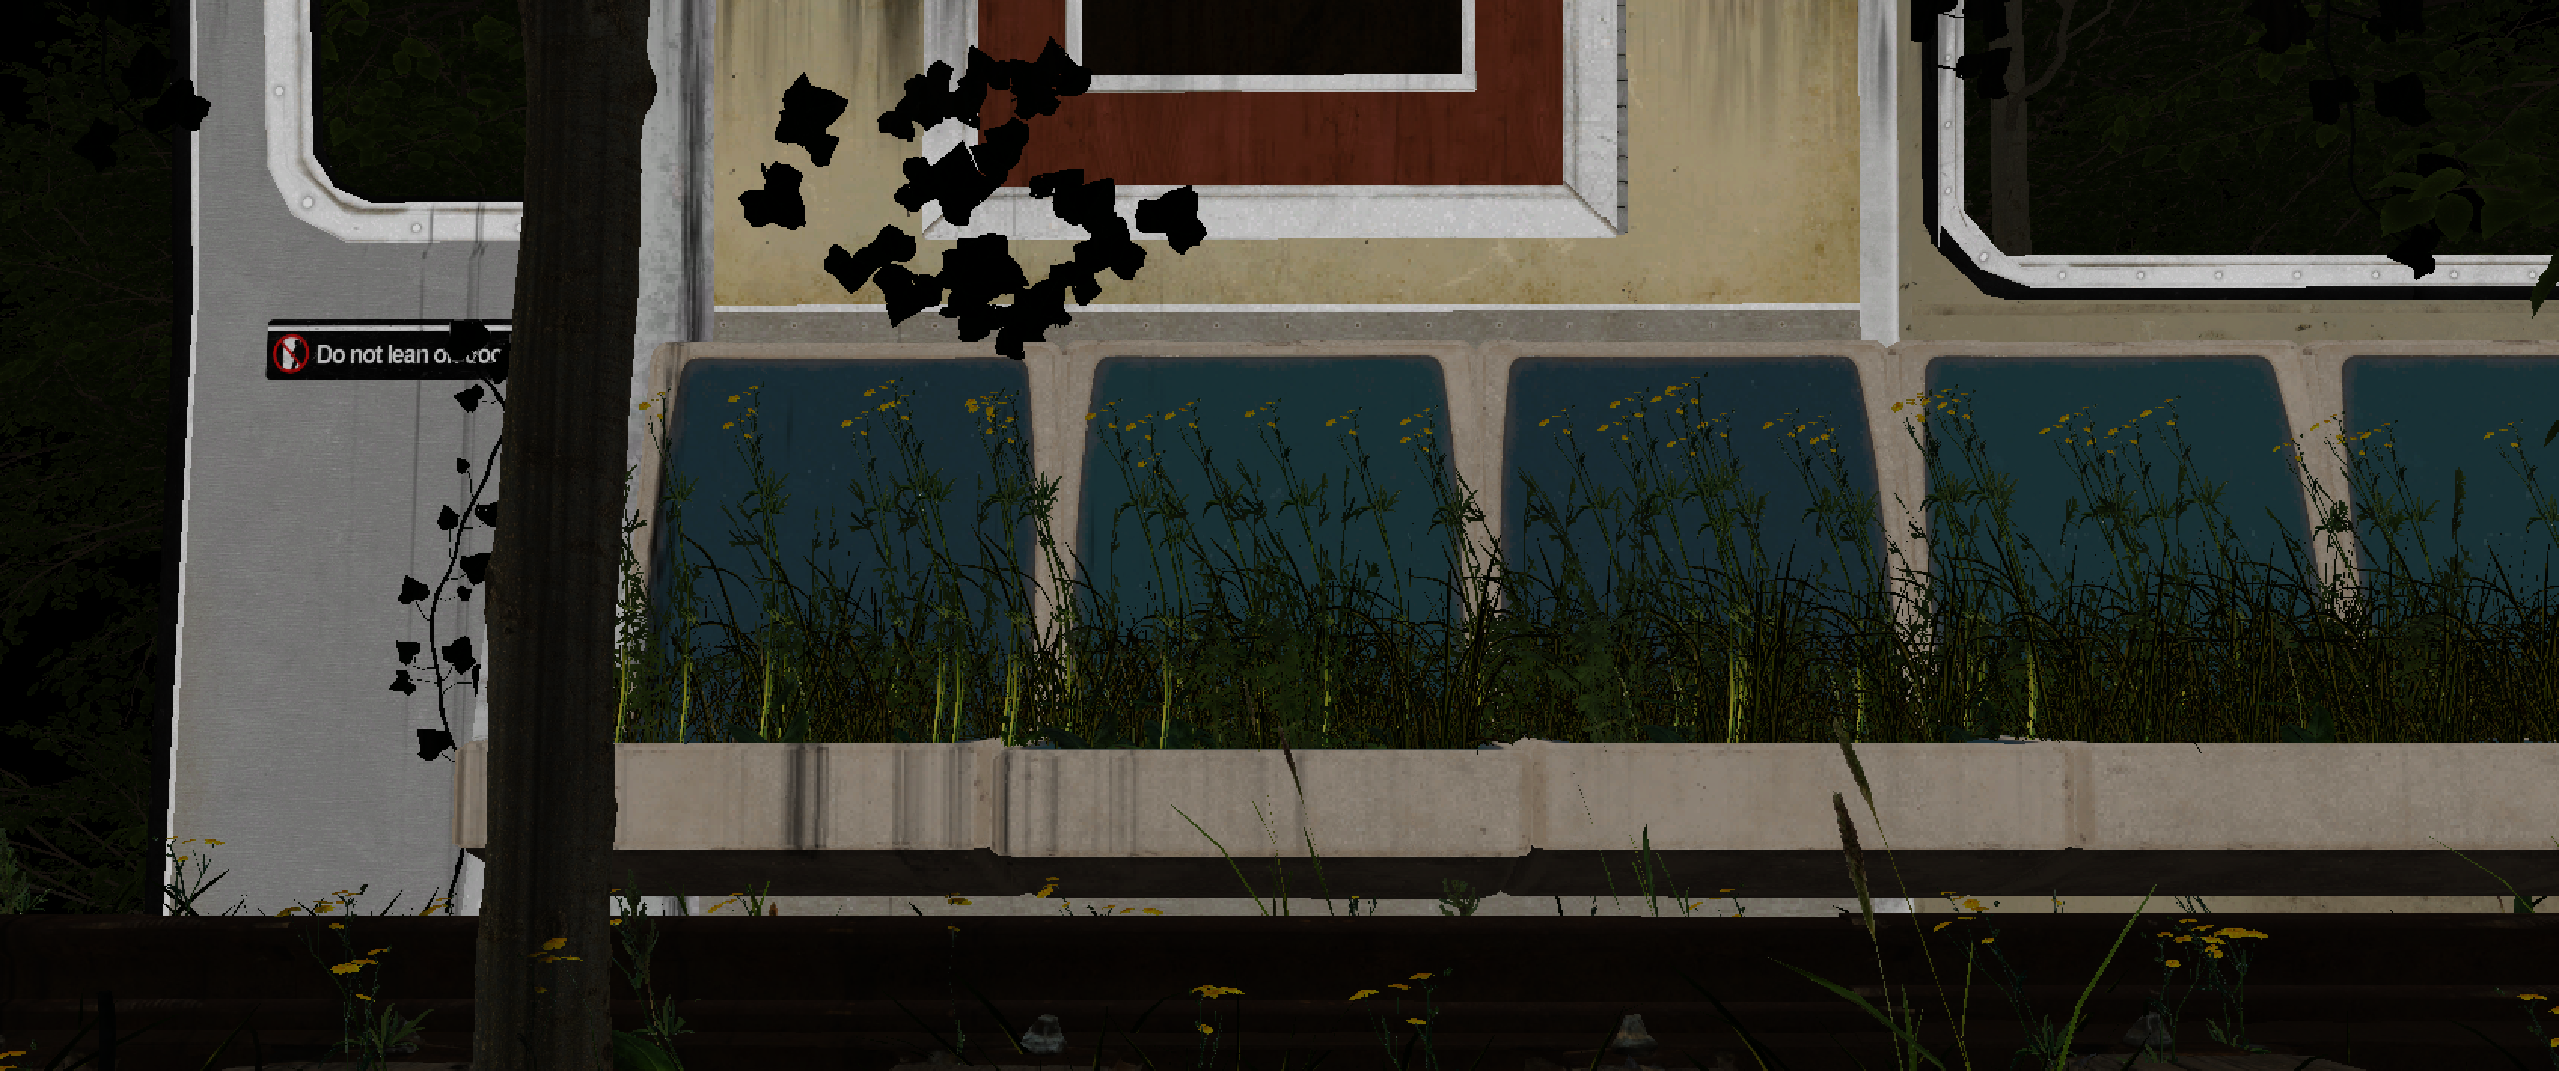
Train exterior — off
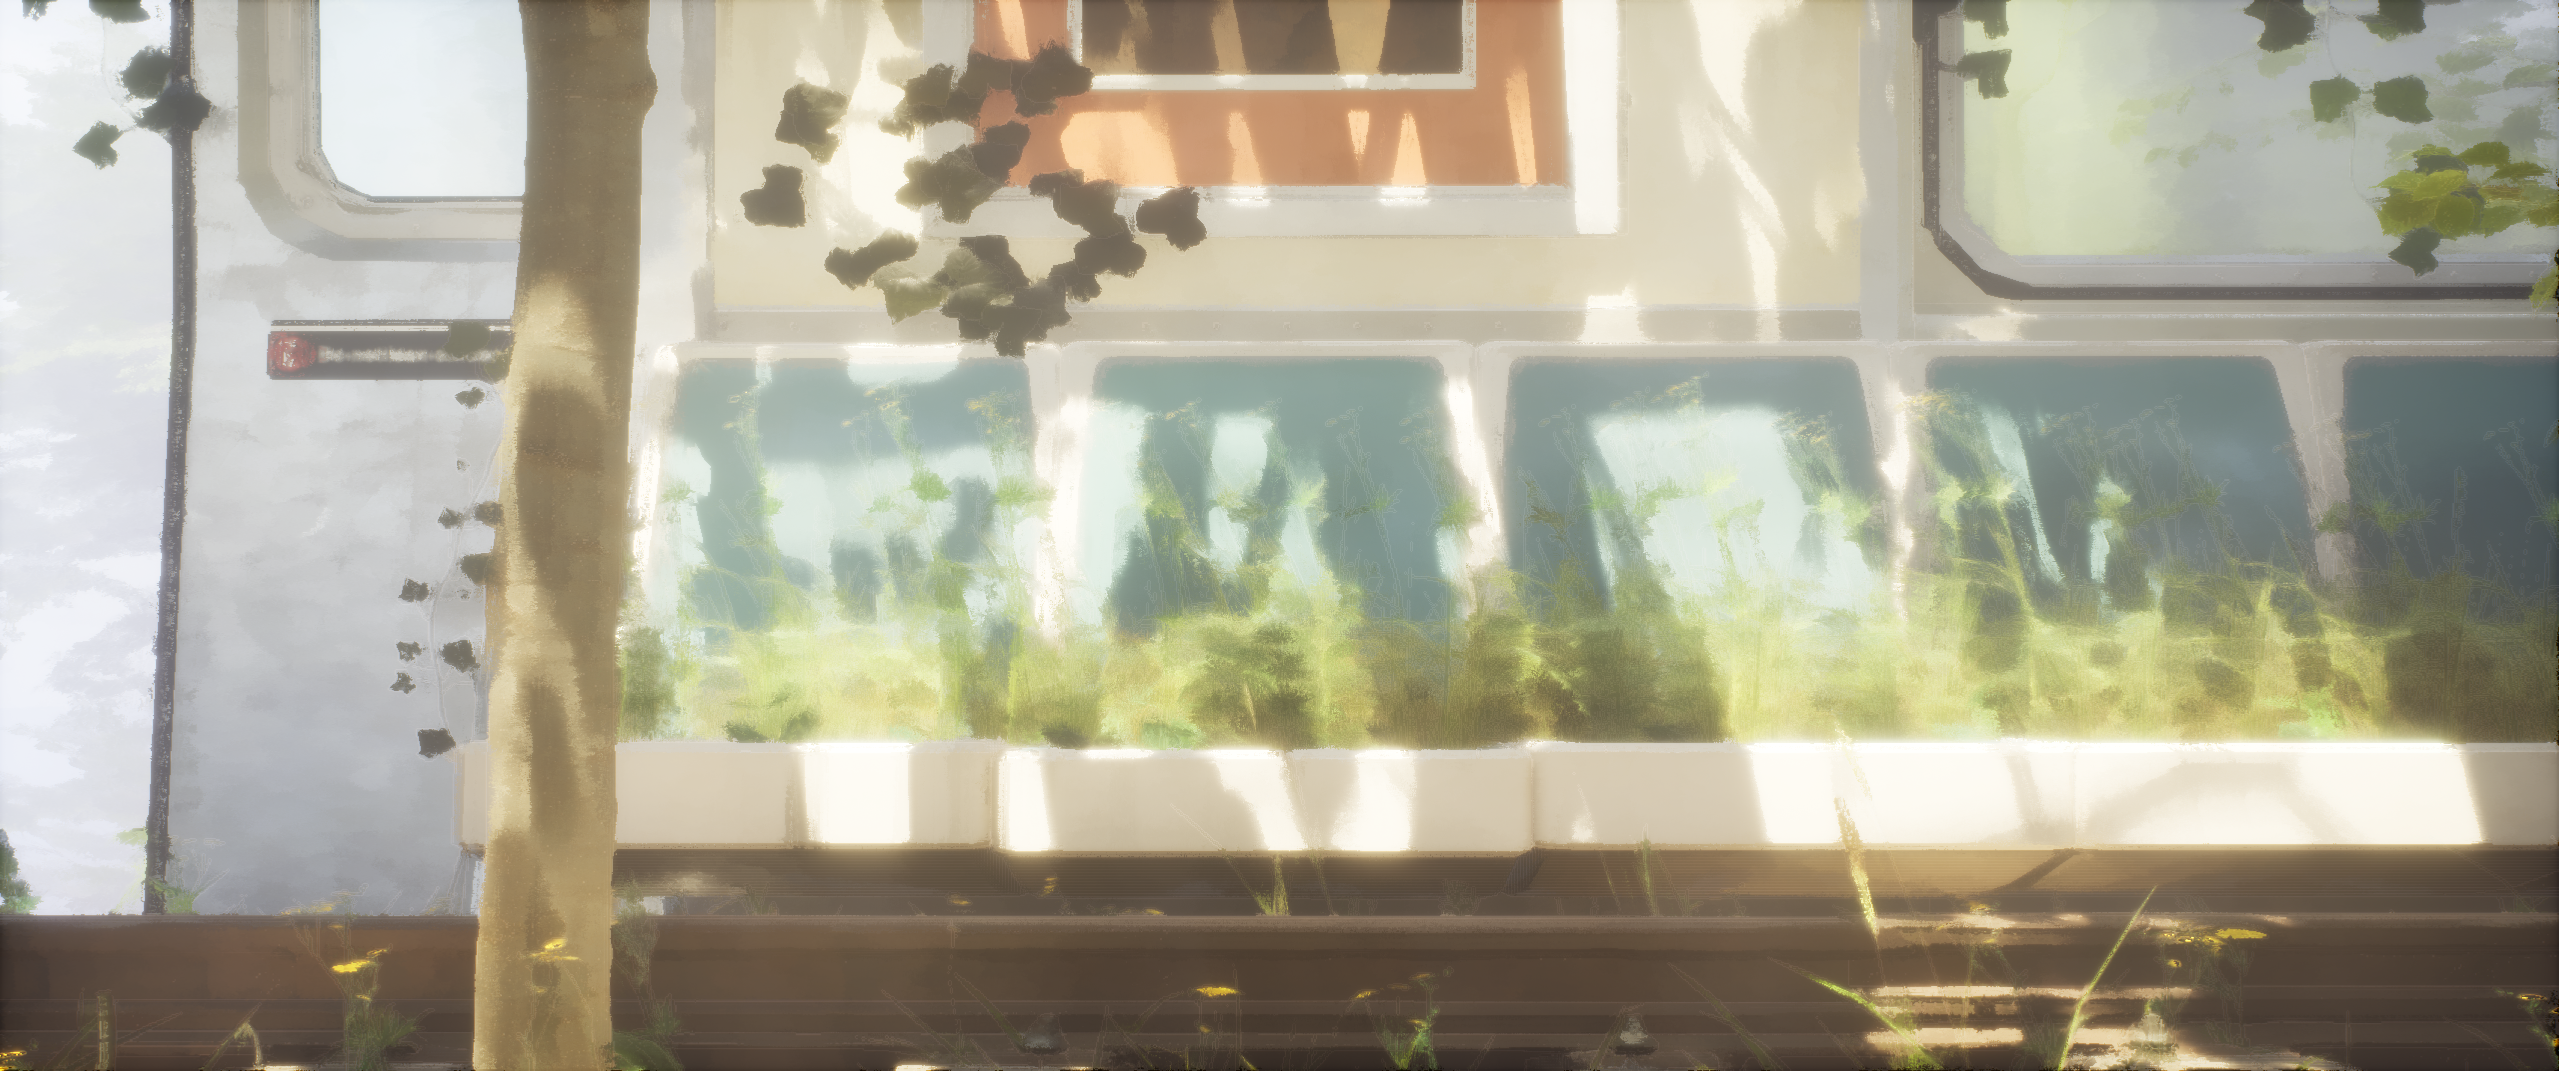
Train exterior — on (cell shader)
Train interior — off
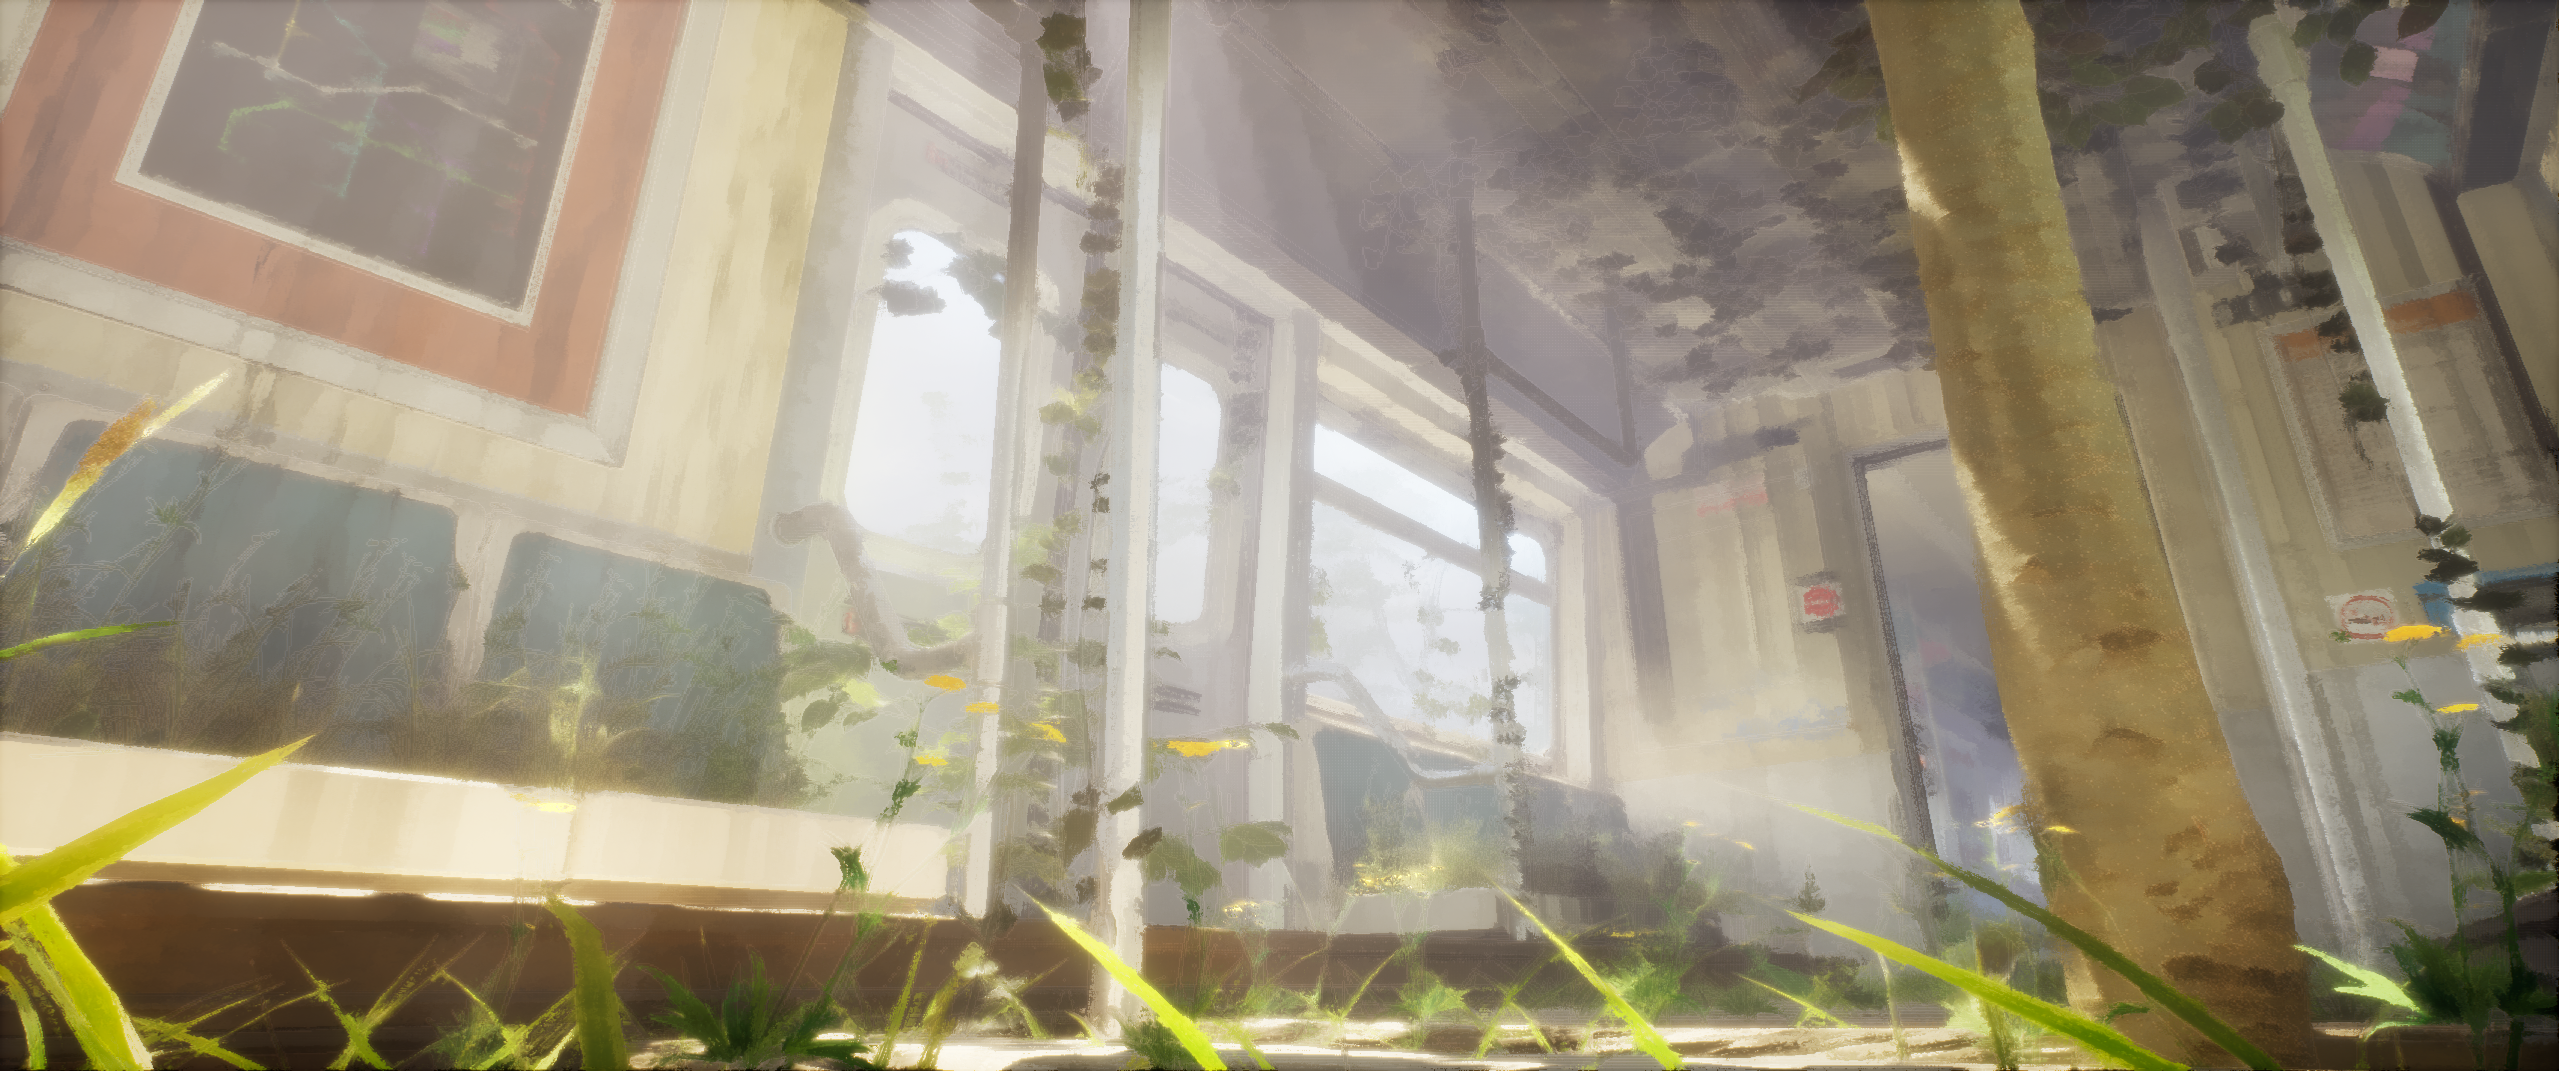
Train interior — on (cell shader)
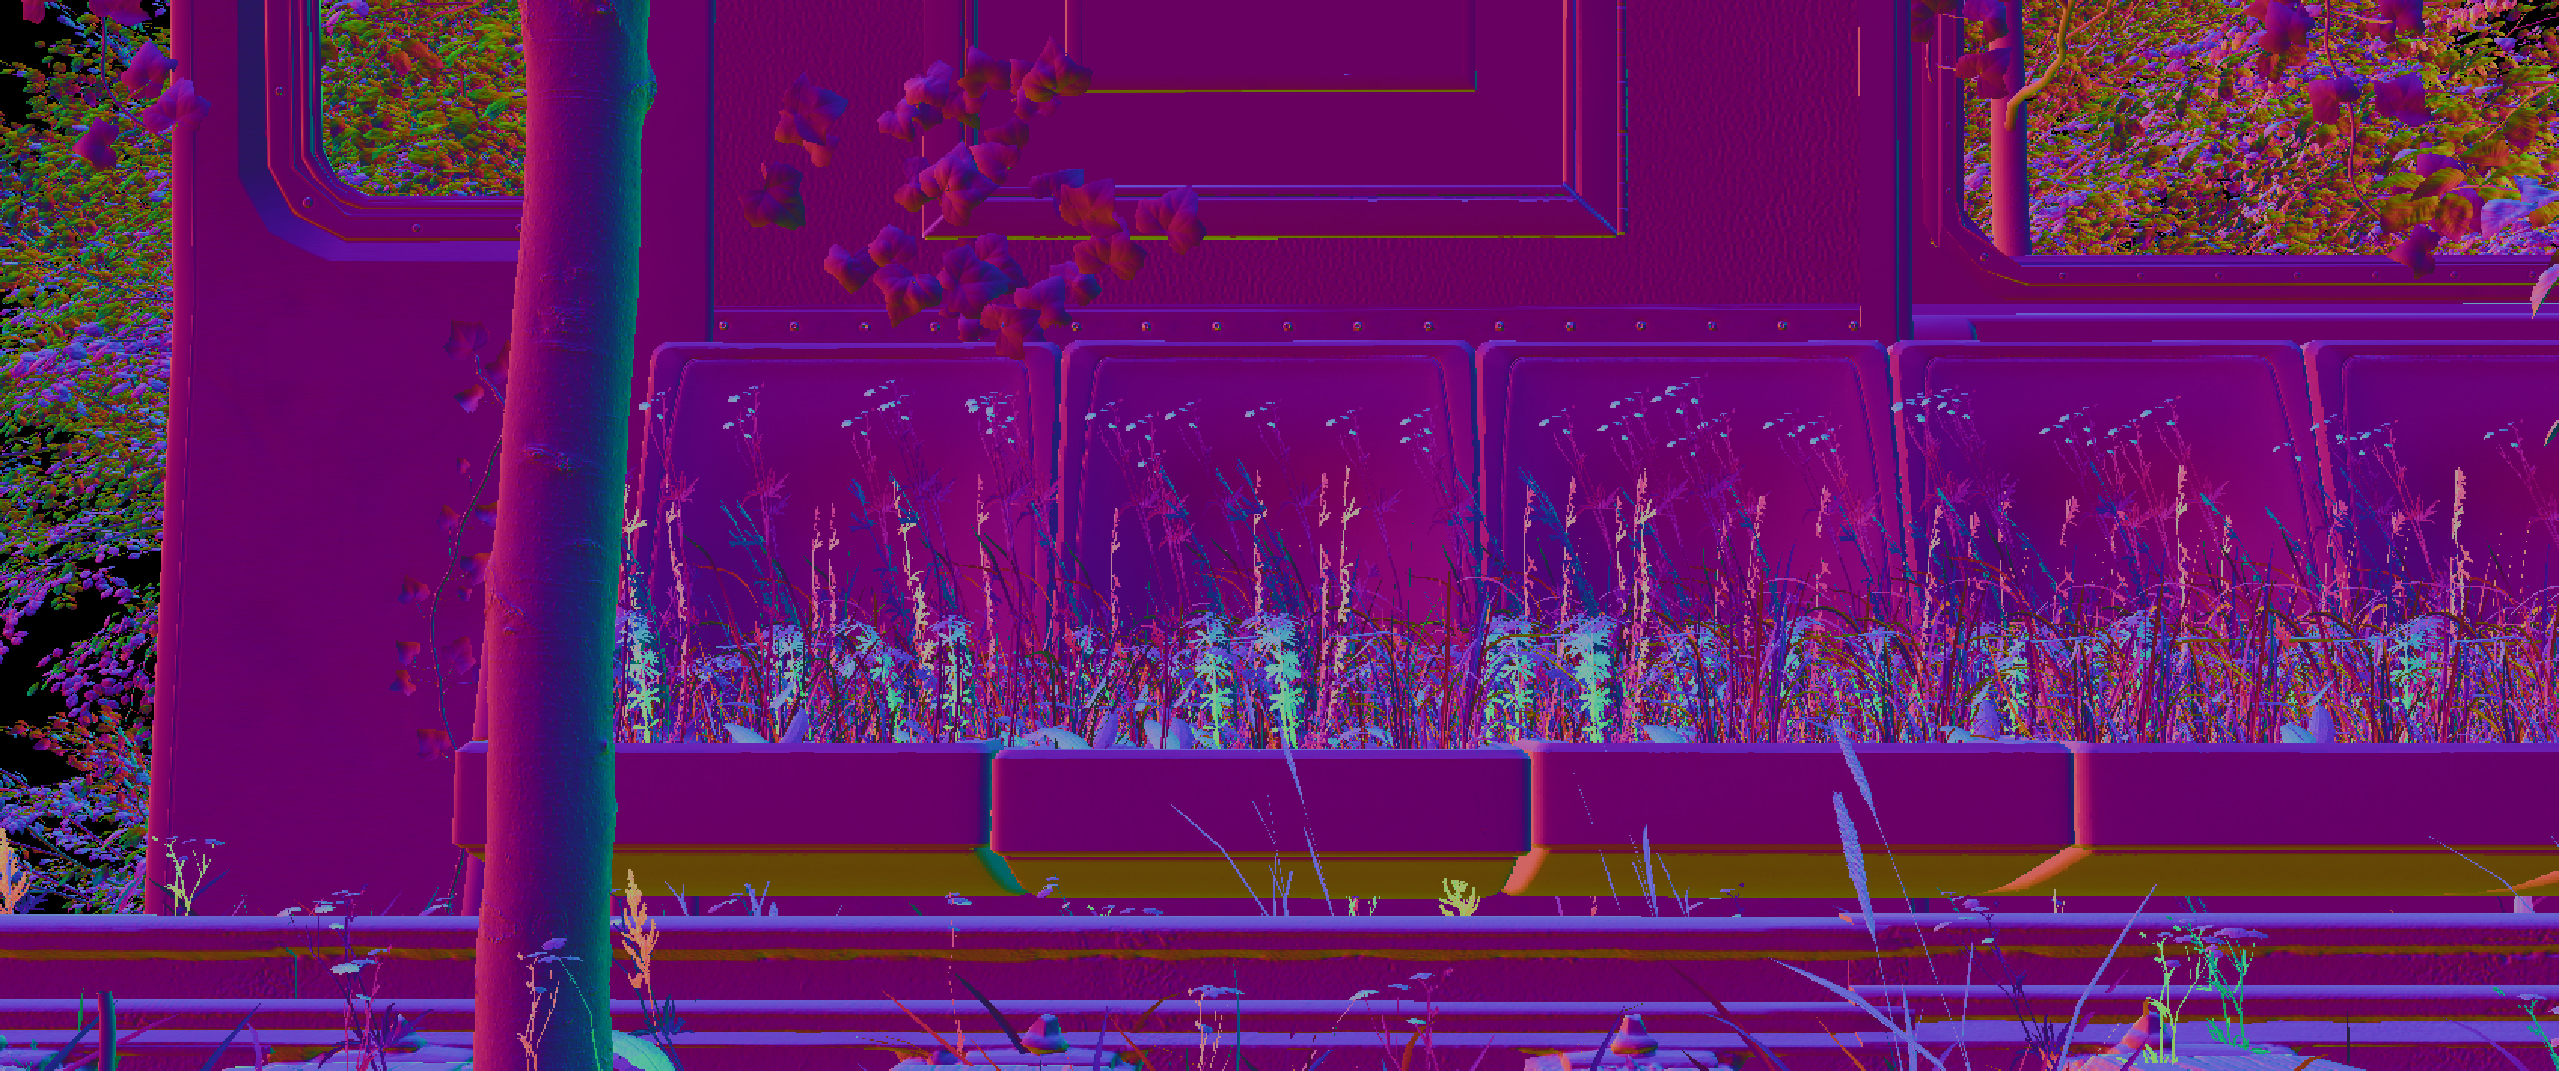
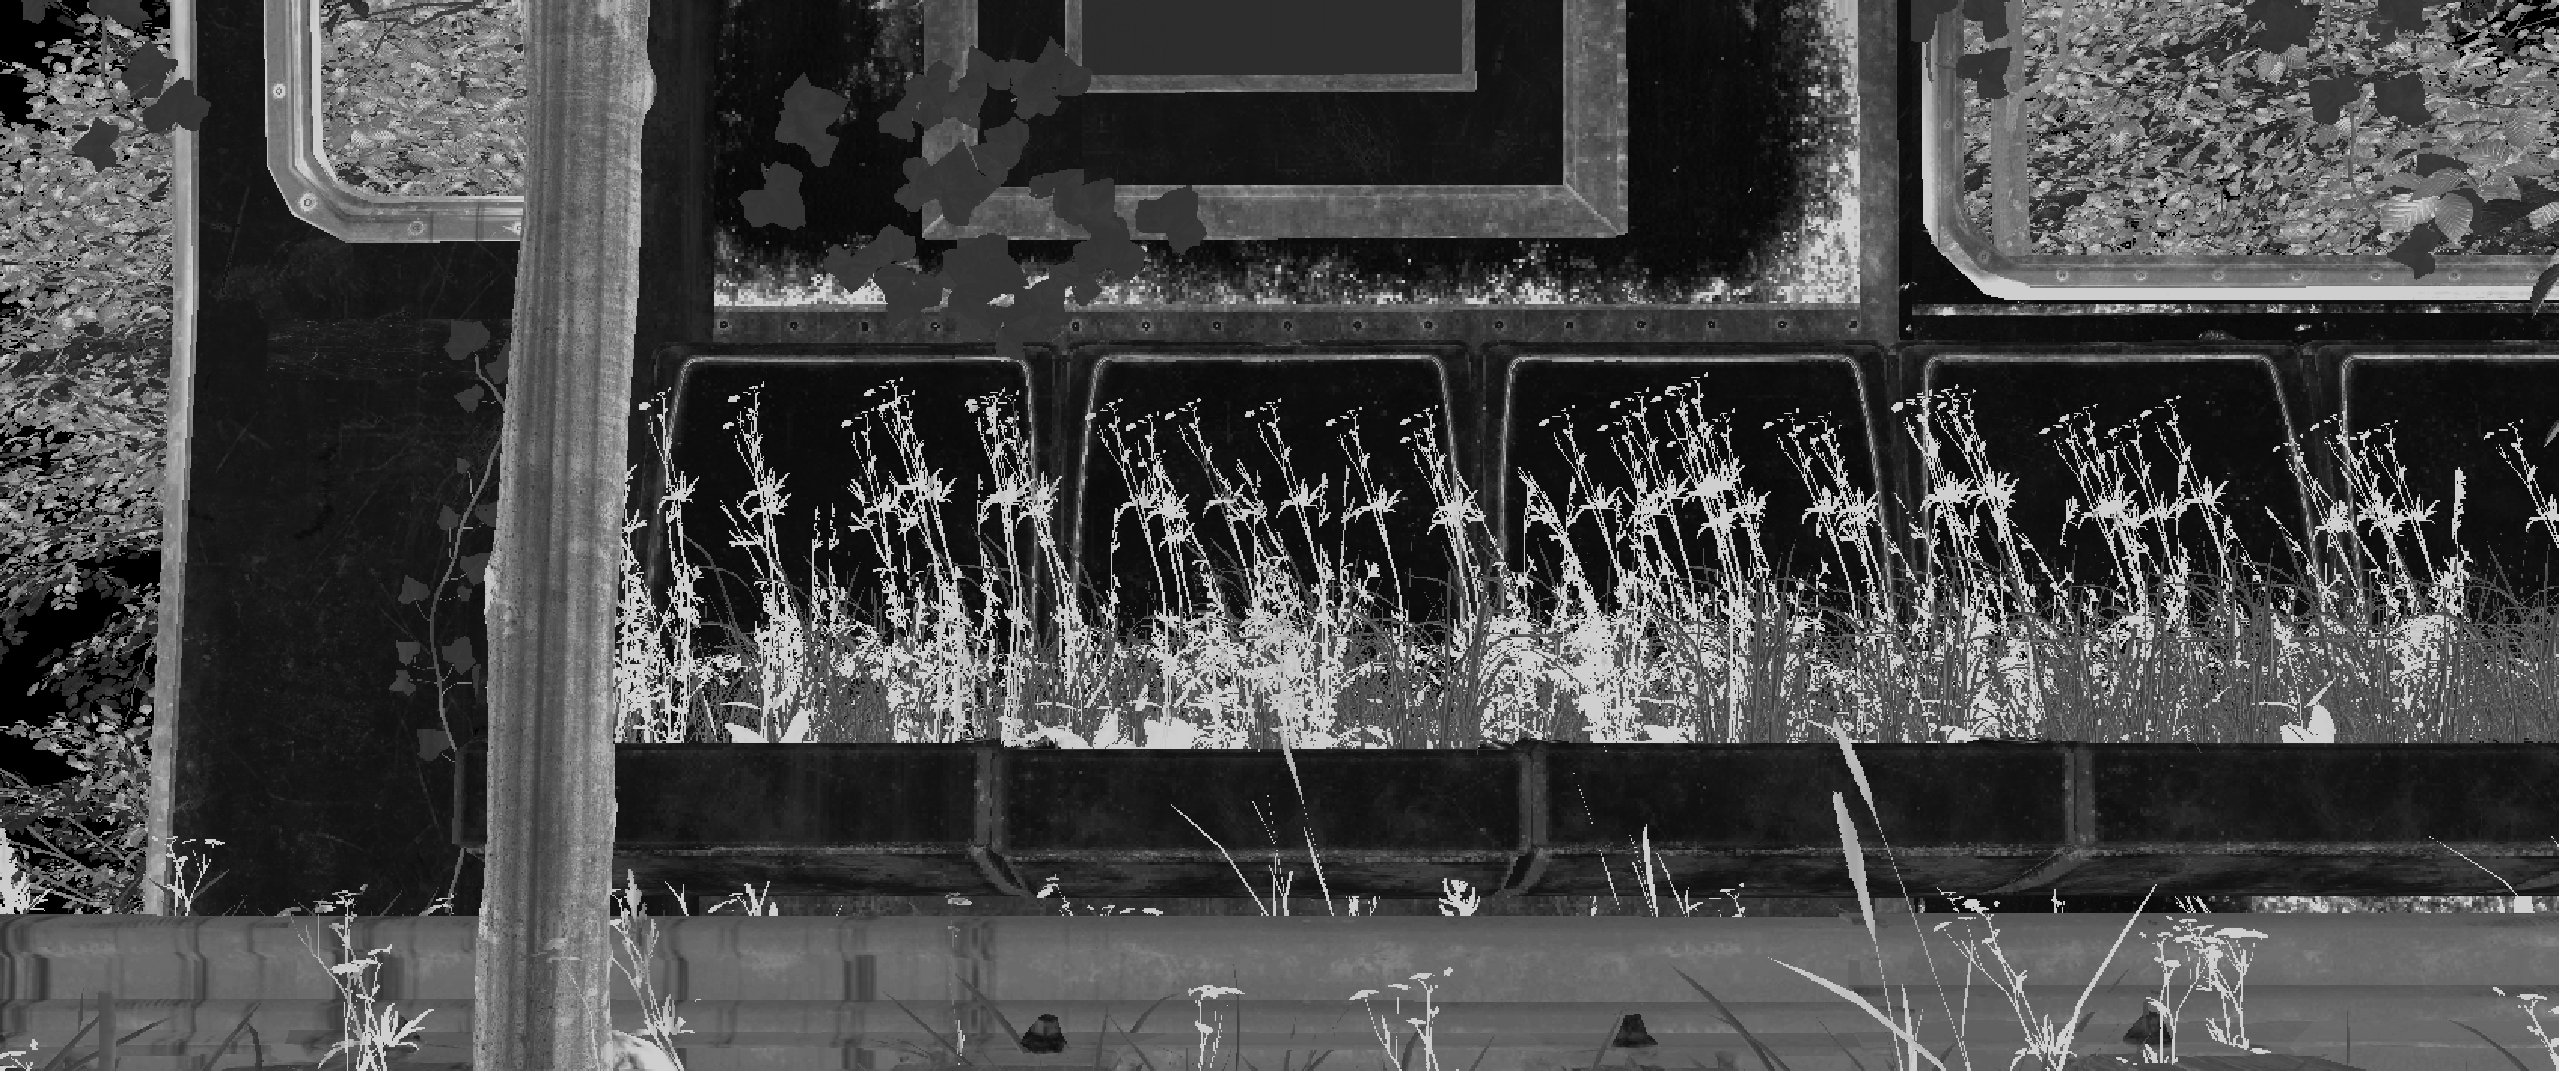
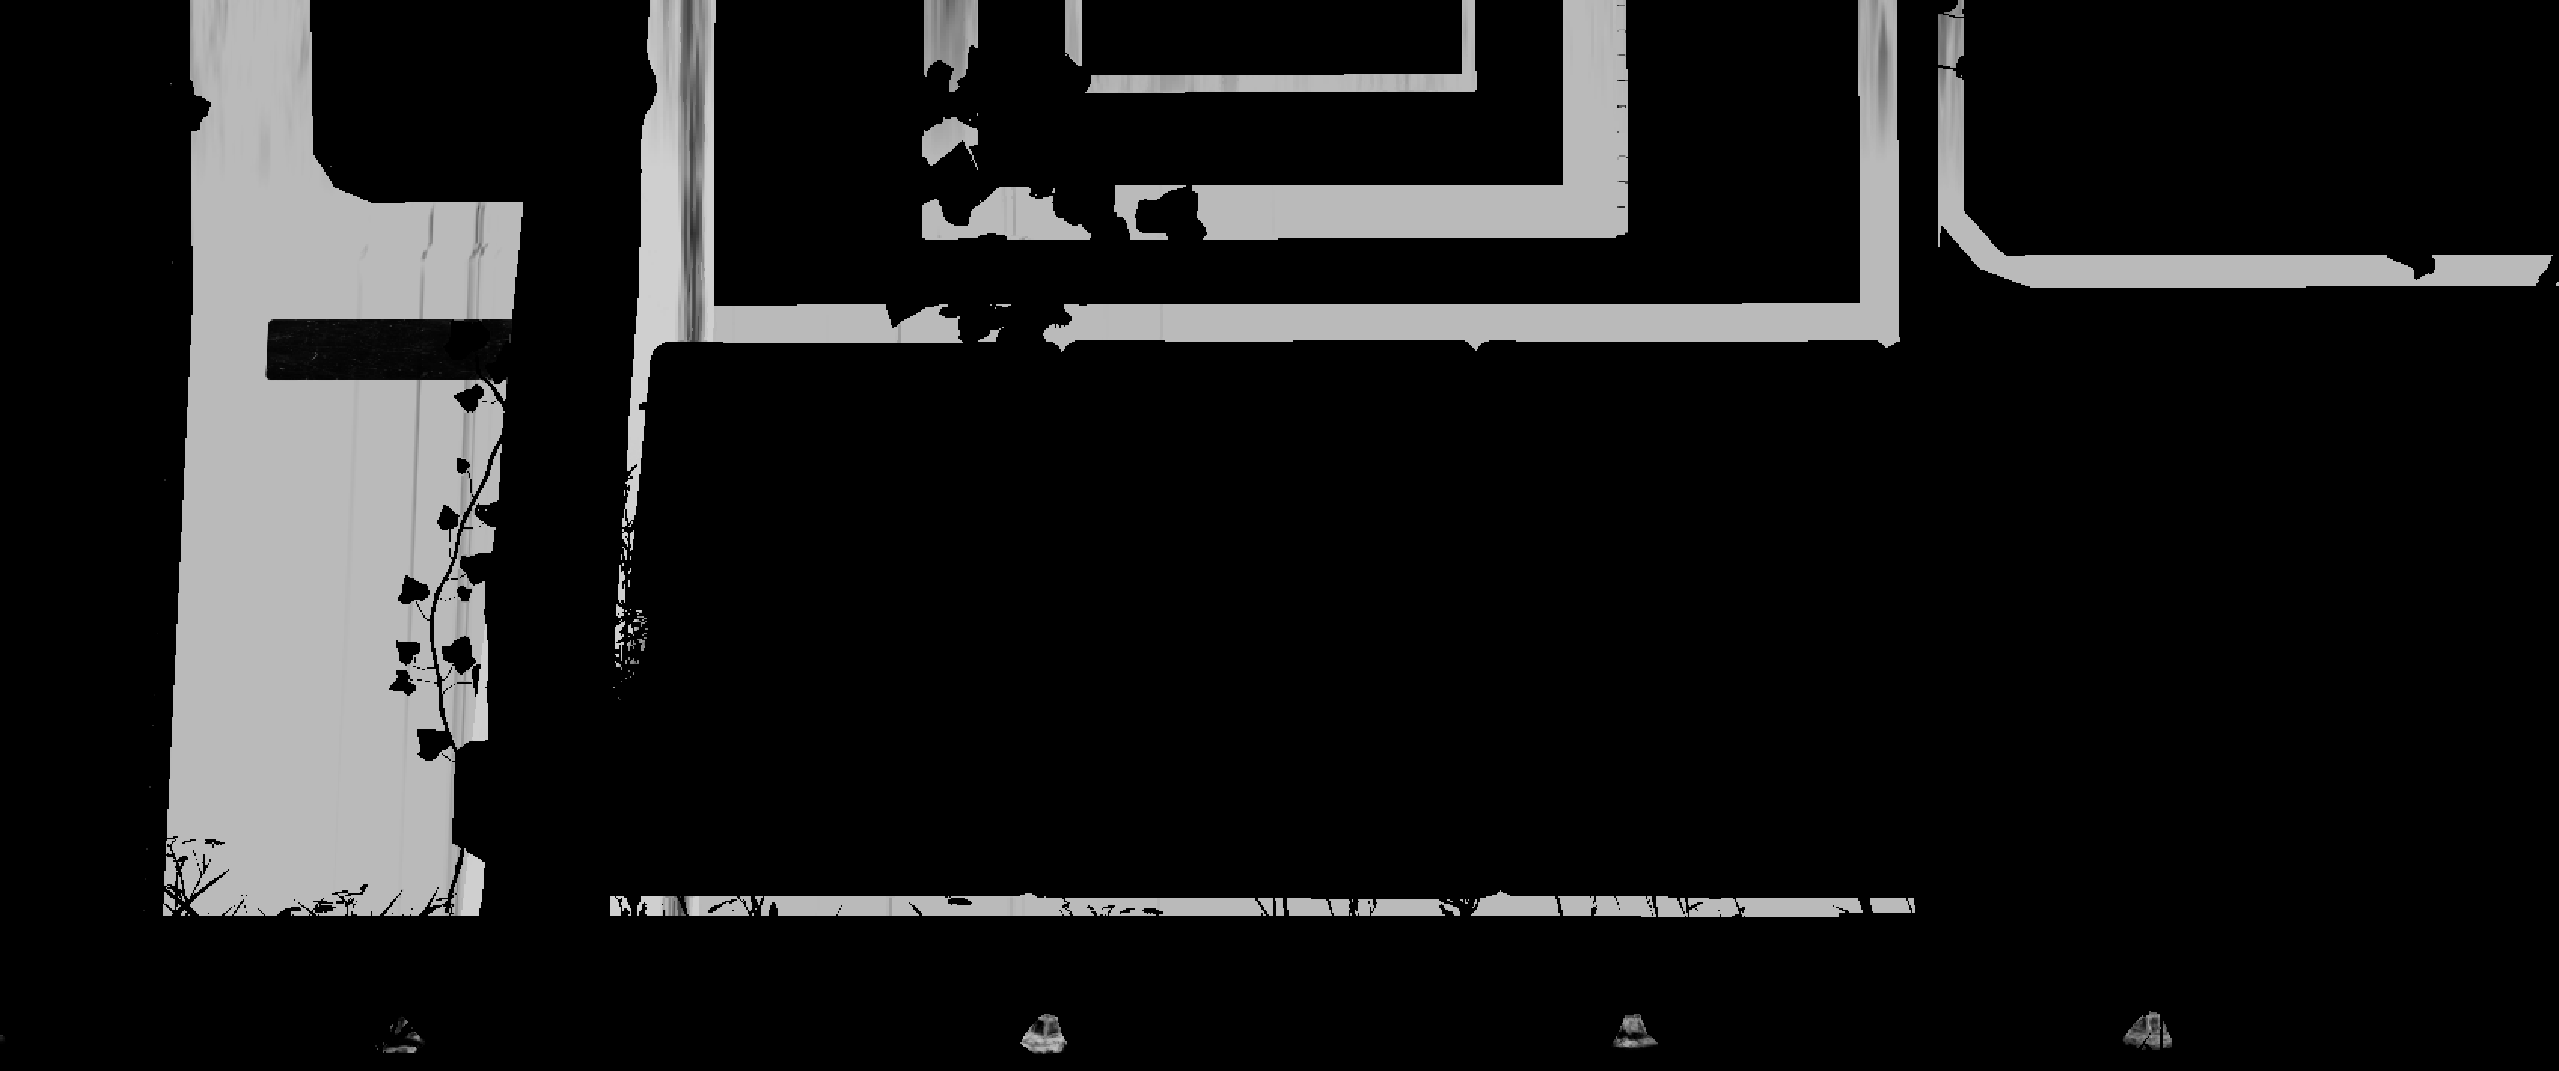
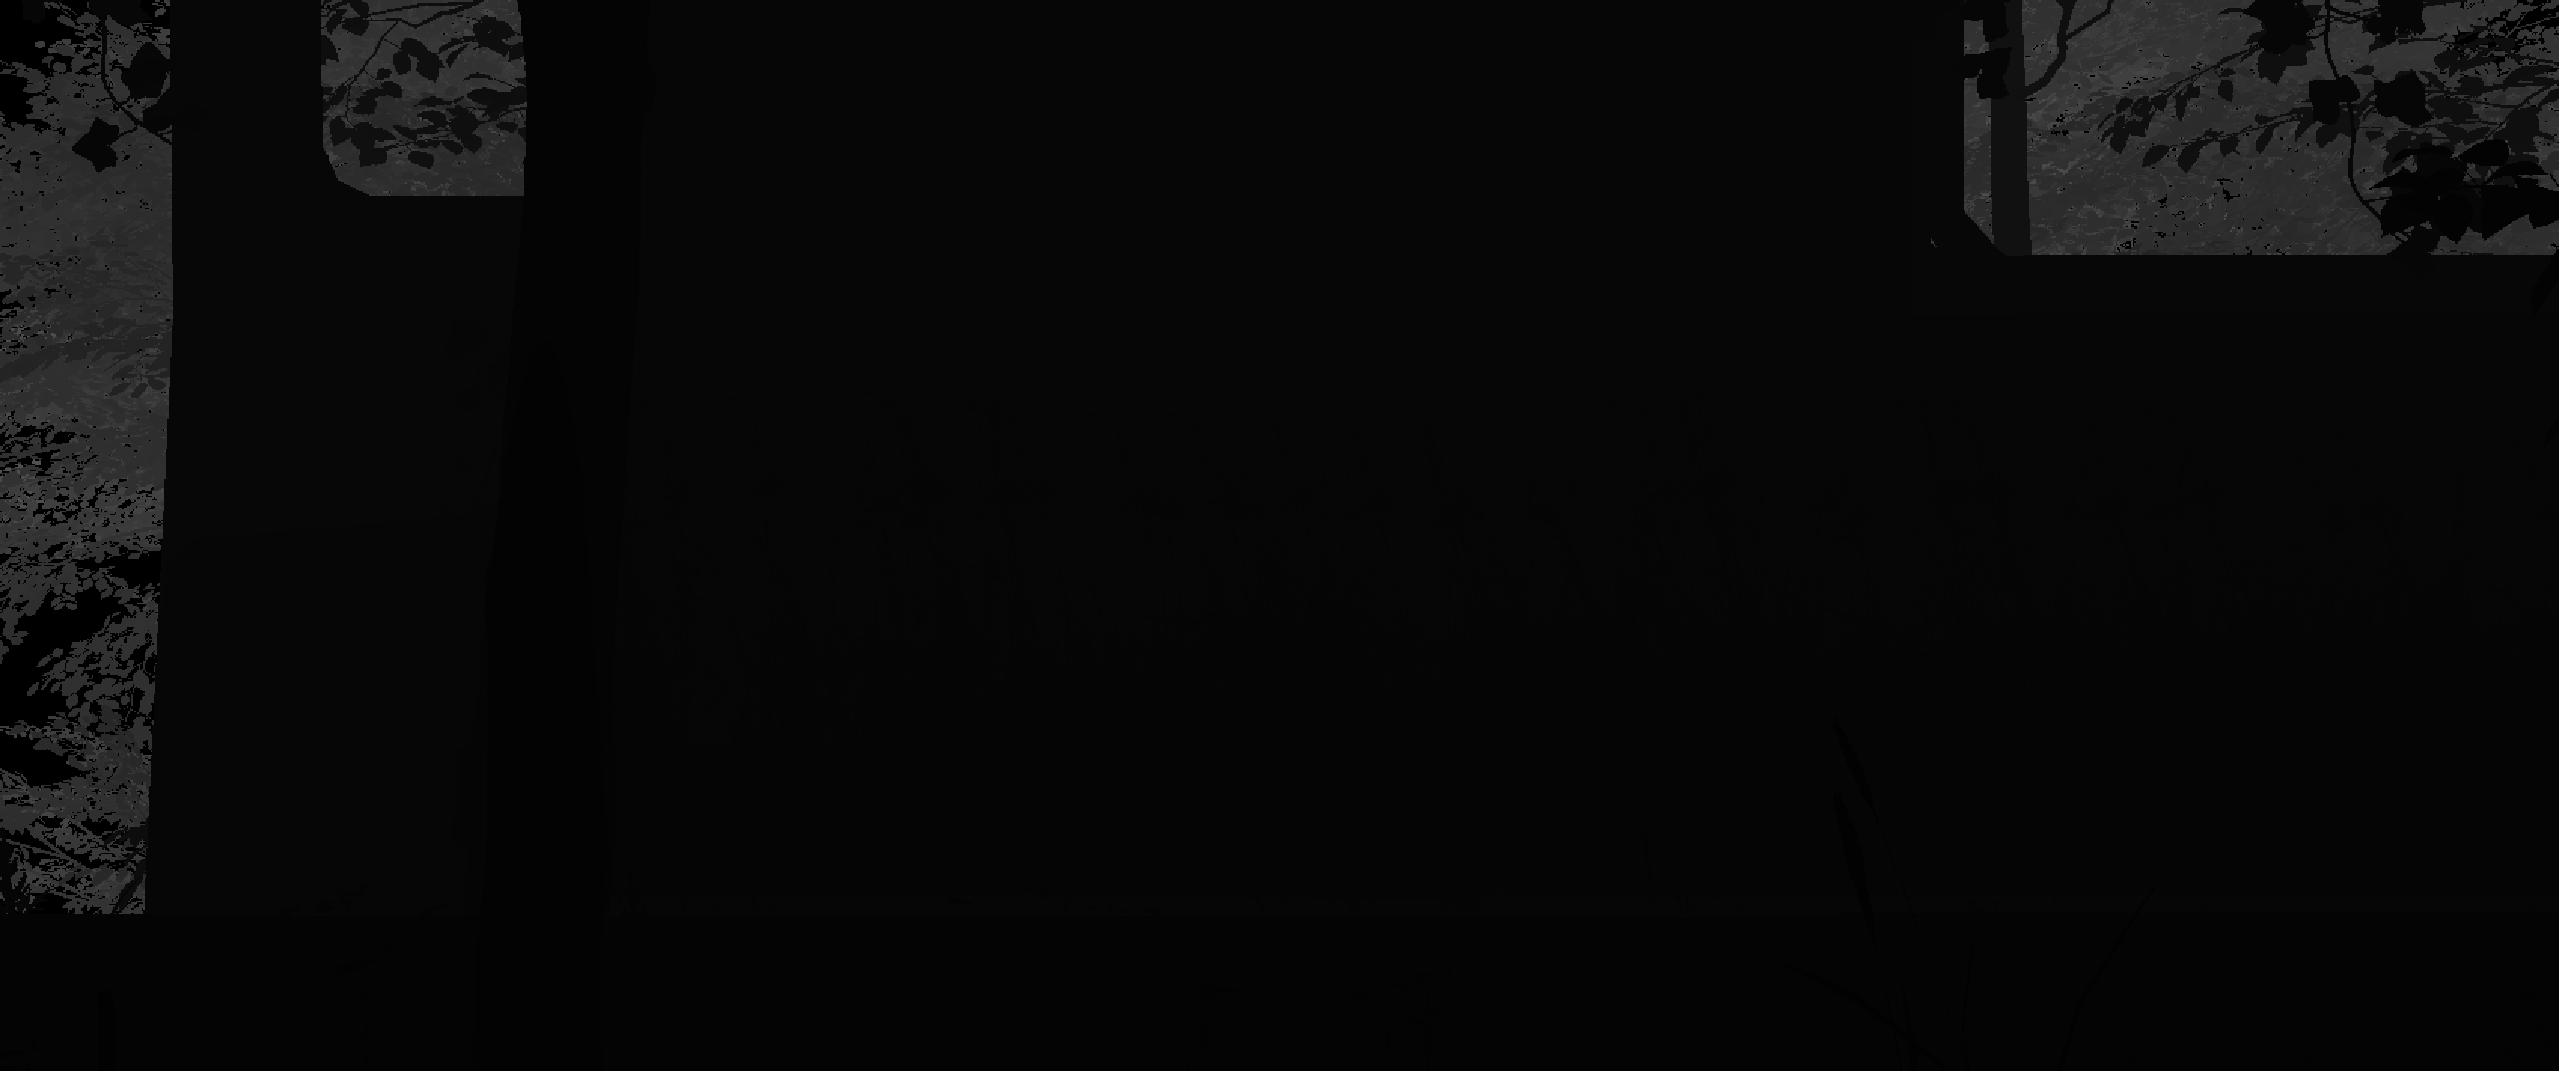
Unreal's high-resolution screenshot tool can output individual GBuffer passes alongside the final composite. These passes reveal how the deferred renderer decomposes the scene before lighting, and they were used to validate material authoring and debug the post-process shaders.
BaseColor — flat albedo, no lighting
WorldNormal — encoded surface normals
Roughness — PBR roughness channel
Metallic — PBR metallic channel
SceneDepth — linear depth buffer
Pre-tonemap HDR — scene before exposure
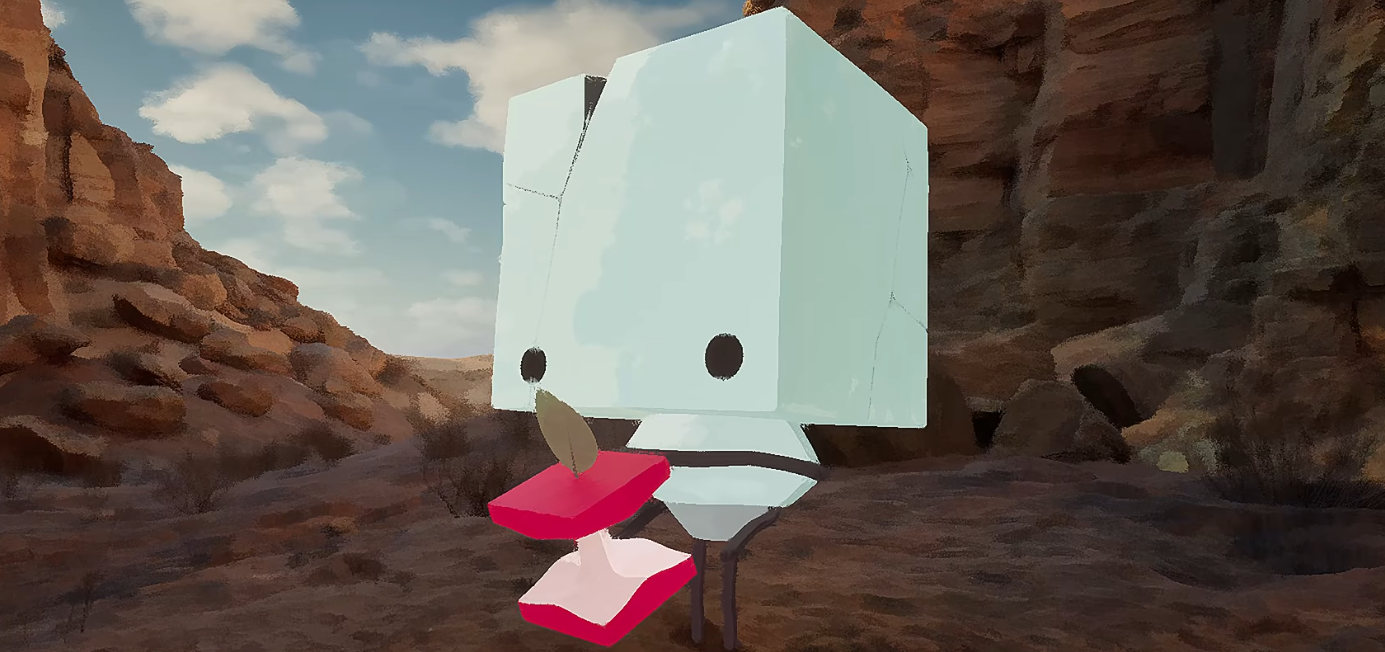
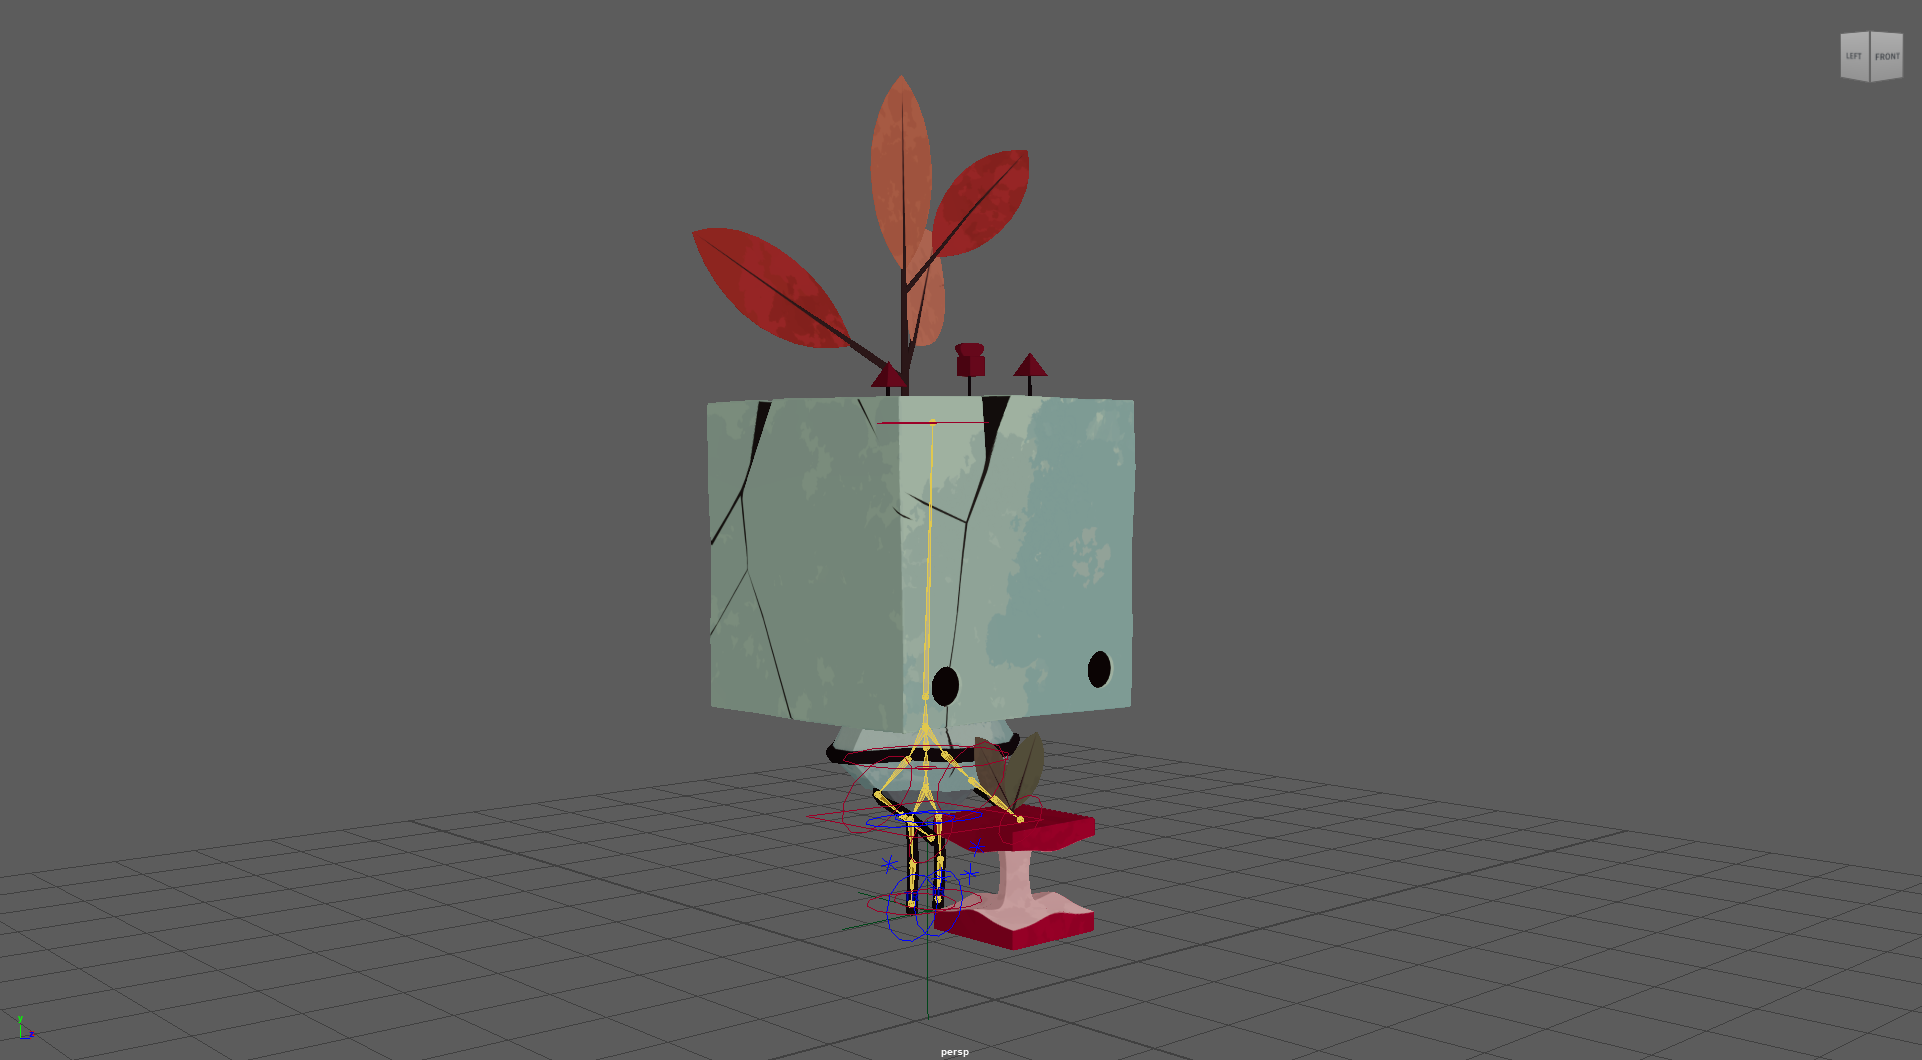
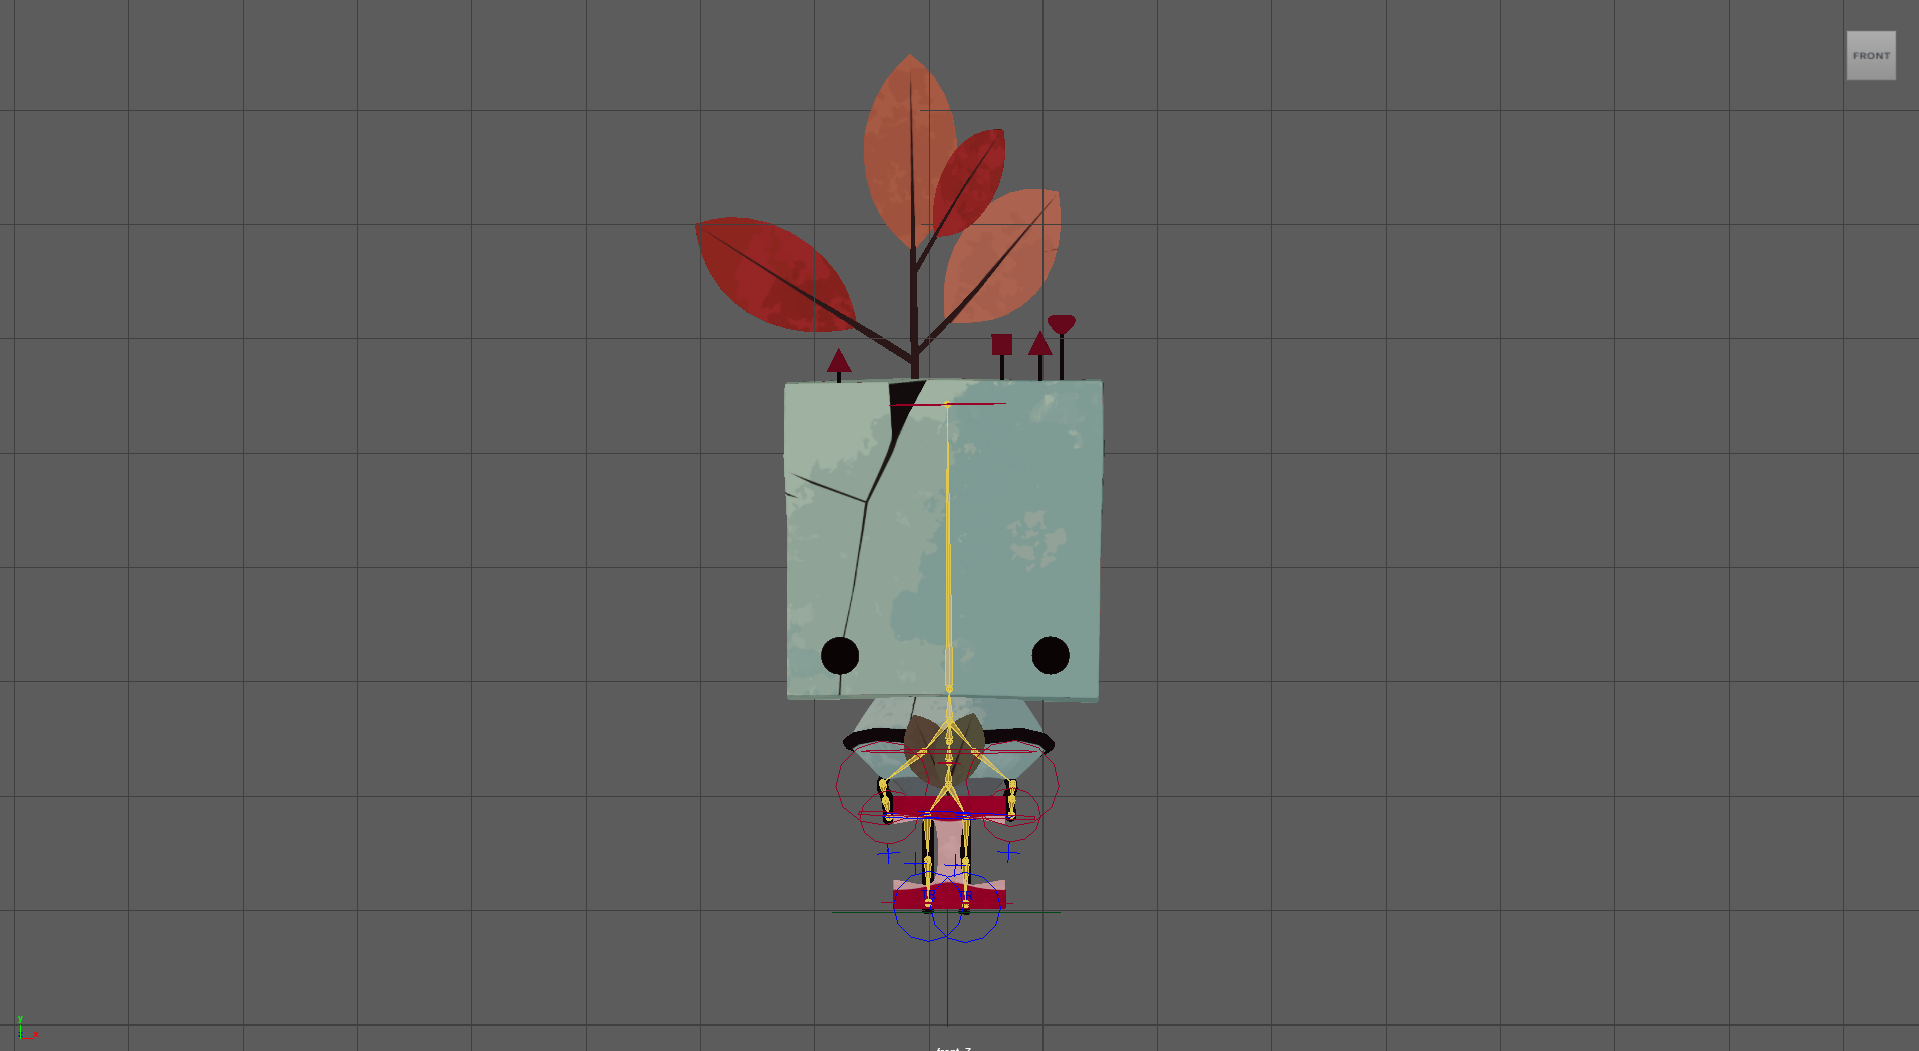
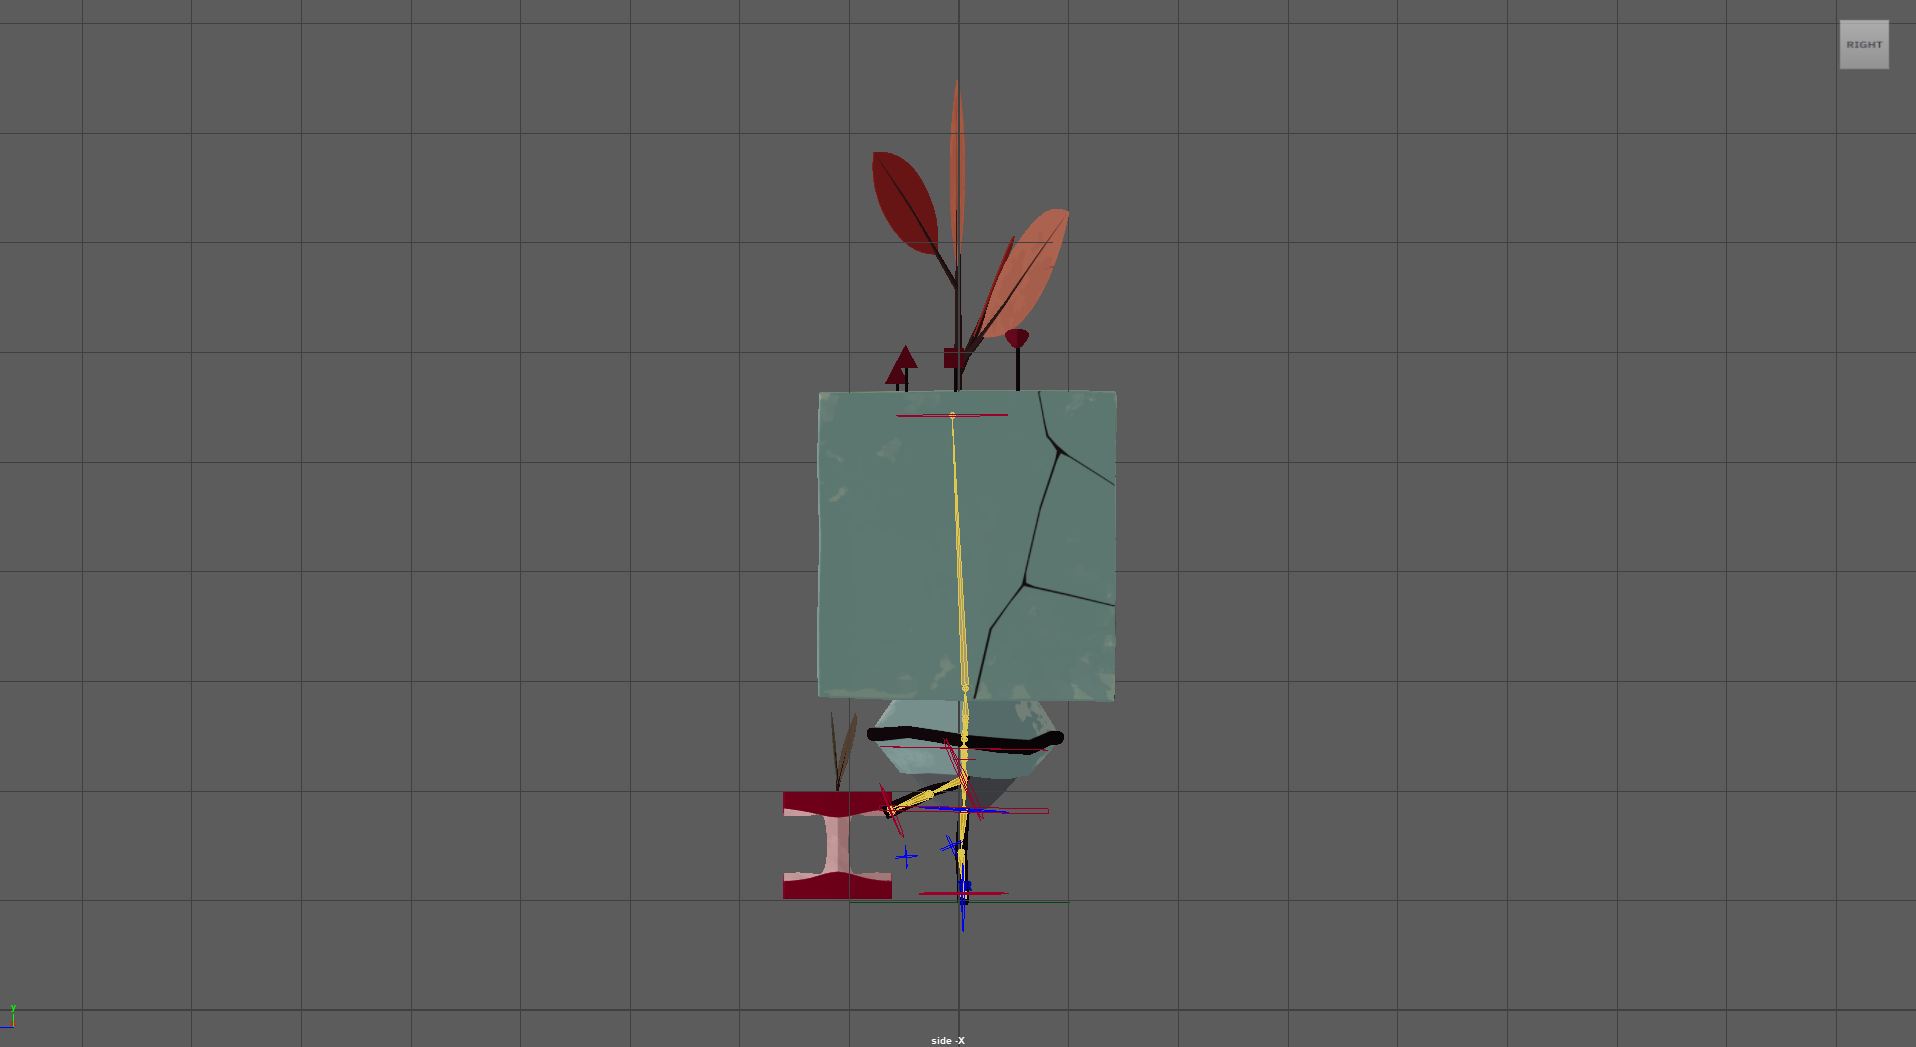
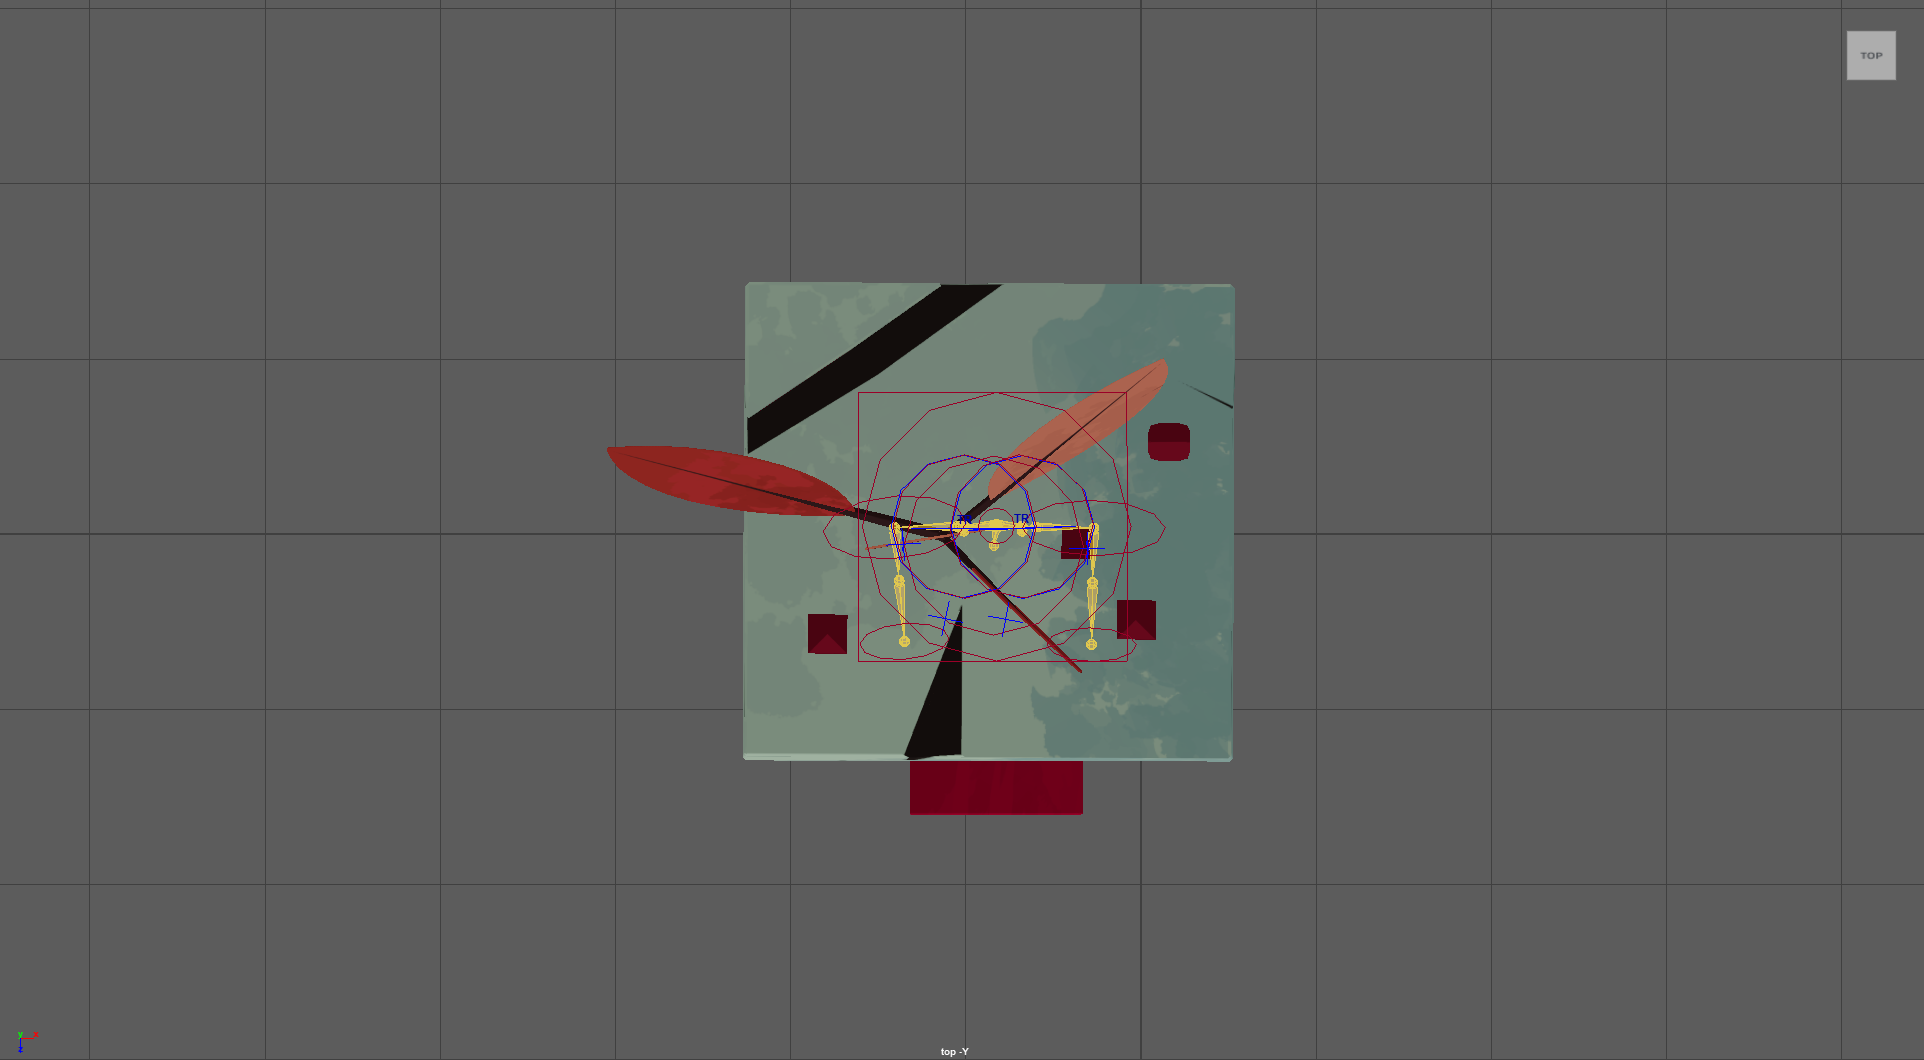
The character — a stylised low-poly cube passenger — was modelled, rigged, textured, and animated in Maya before export to Unreal. The pipeline follows a standard FBX workflow with skeletal mesh and animation sequence import.
Character in-engine — rendered in the canyon environment with Lumen GI and Unreal's deferred pipeline
Maya perspective — full rig visible with joint chain, IK handles, and NURBS control curves
Front — joint hierarchy and control curves
Side — IK leg chain and foot orient constraints
Top — shoulder and arm control layout
The final animation is rendered through Unreal's Movie Render Pipeline (MRP) rather than a viewport capture. MRP gives access to temporal anti-aliasing accumulation over multiple samples per frame, high-resolution output beyond the viewport size, and per-pass EXR export for compositing.
Working in Unreal for animation rather than games changes your relationship with the tools. In a game context you're optimising — fewer draw calls, smaller textures, shorter shadow distances. In a cinematic context you're chasing the image, and the real-time engine is a tool for iteration speed: change the light angle, press play, see the result in milliseconds instead of hours.
The hardest part was the subway environment — getting foliage assets to feel integrated rather than placed. Plants in the real world grow toward gaps in shade and follow the path of least resistance. Recreating that logic manually, one asset at a time, required looking at a lot of reference and killing a lot of placements that were technically correct but compositionally dead.
The post-process shader work was the most technically interesting part. Writing HLSL inside Unreal's material graph — using custom expression nodes for the Sobel filter, quantisation math, and GBuffer sampling — made the connection between shader theory and visual output concrete in a way that coursework alone hadn't.